Le positioning of table legs, whether for aesthetics, functionality, stability, play a major role in any table you come across in your daily life. Whether you're remodeling an existing table or building your own from scratch, understanding how to position and install the table legs is essential. That's where this guide comes in to help you navigate through this process smoothly.
Each position has its advantages and disadvantages. Therefore, choose wisely based on your table shape, size and intended use.
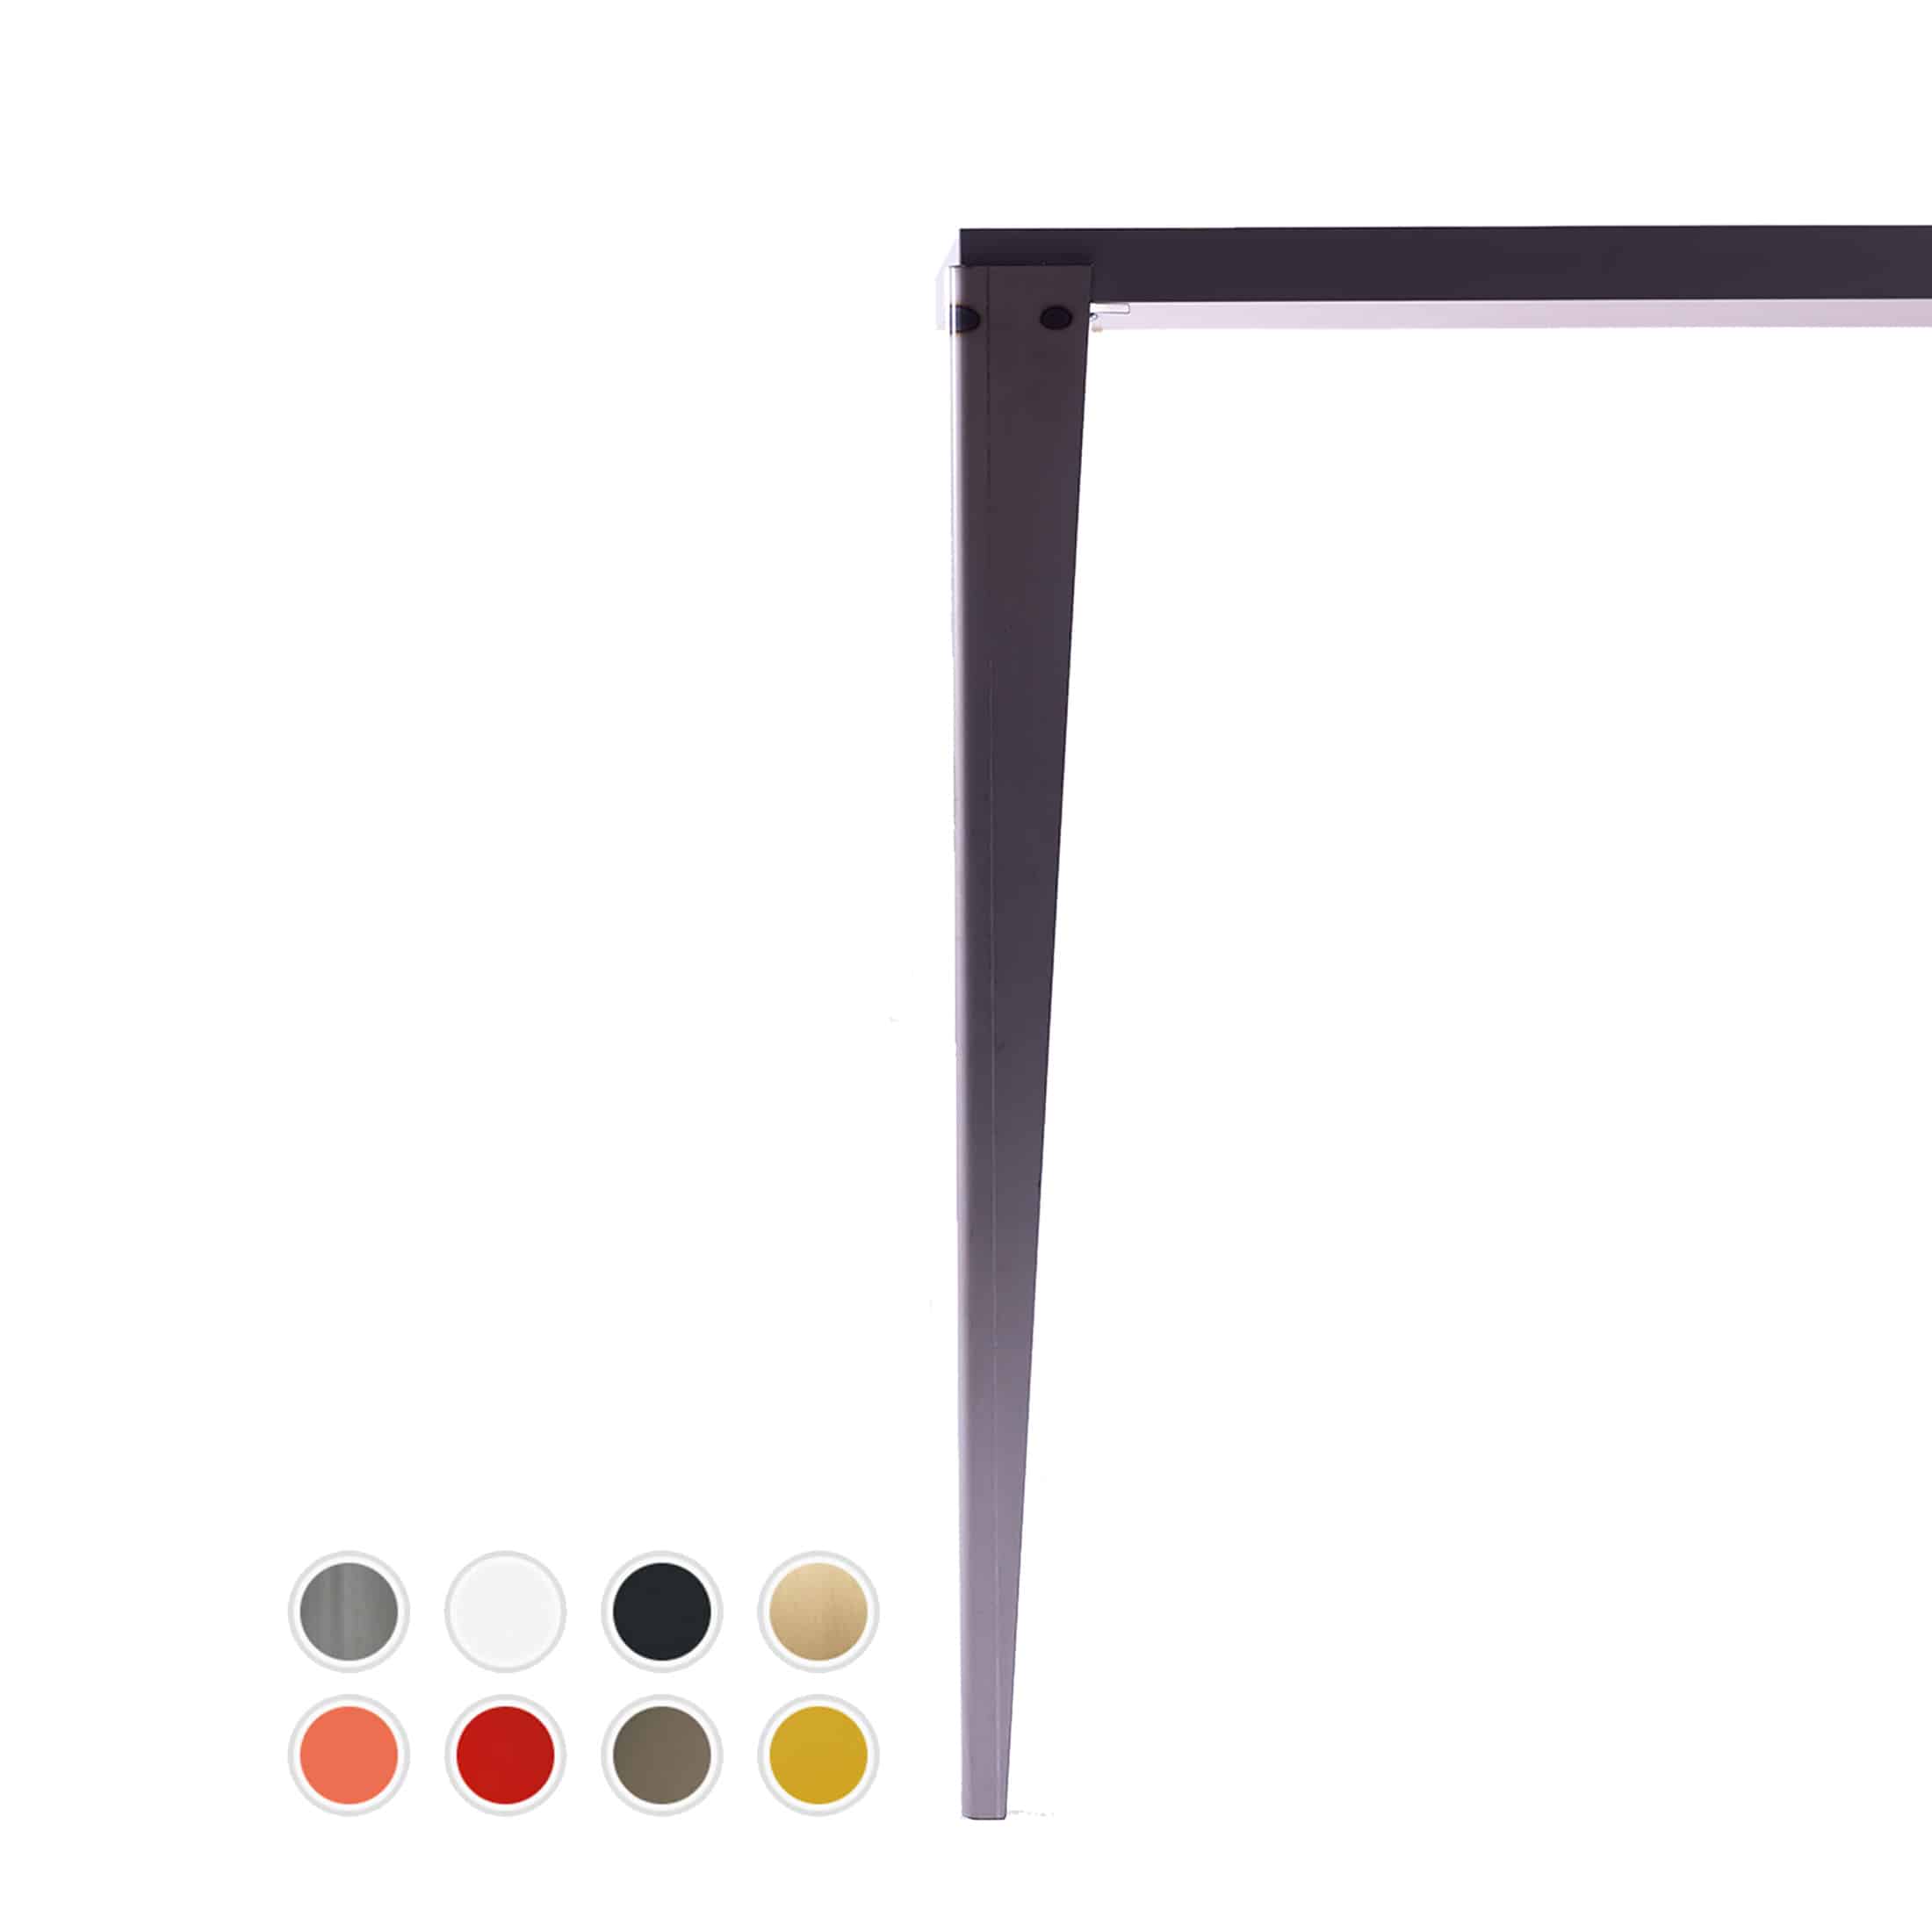
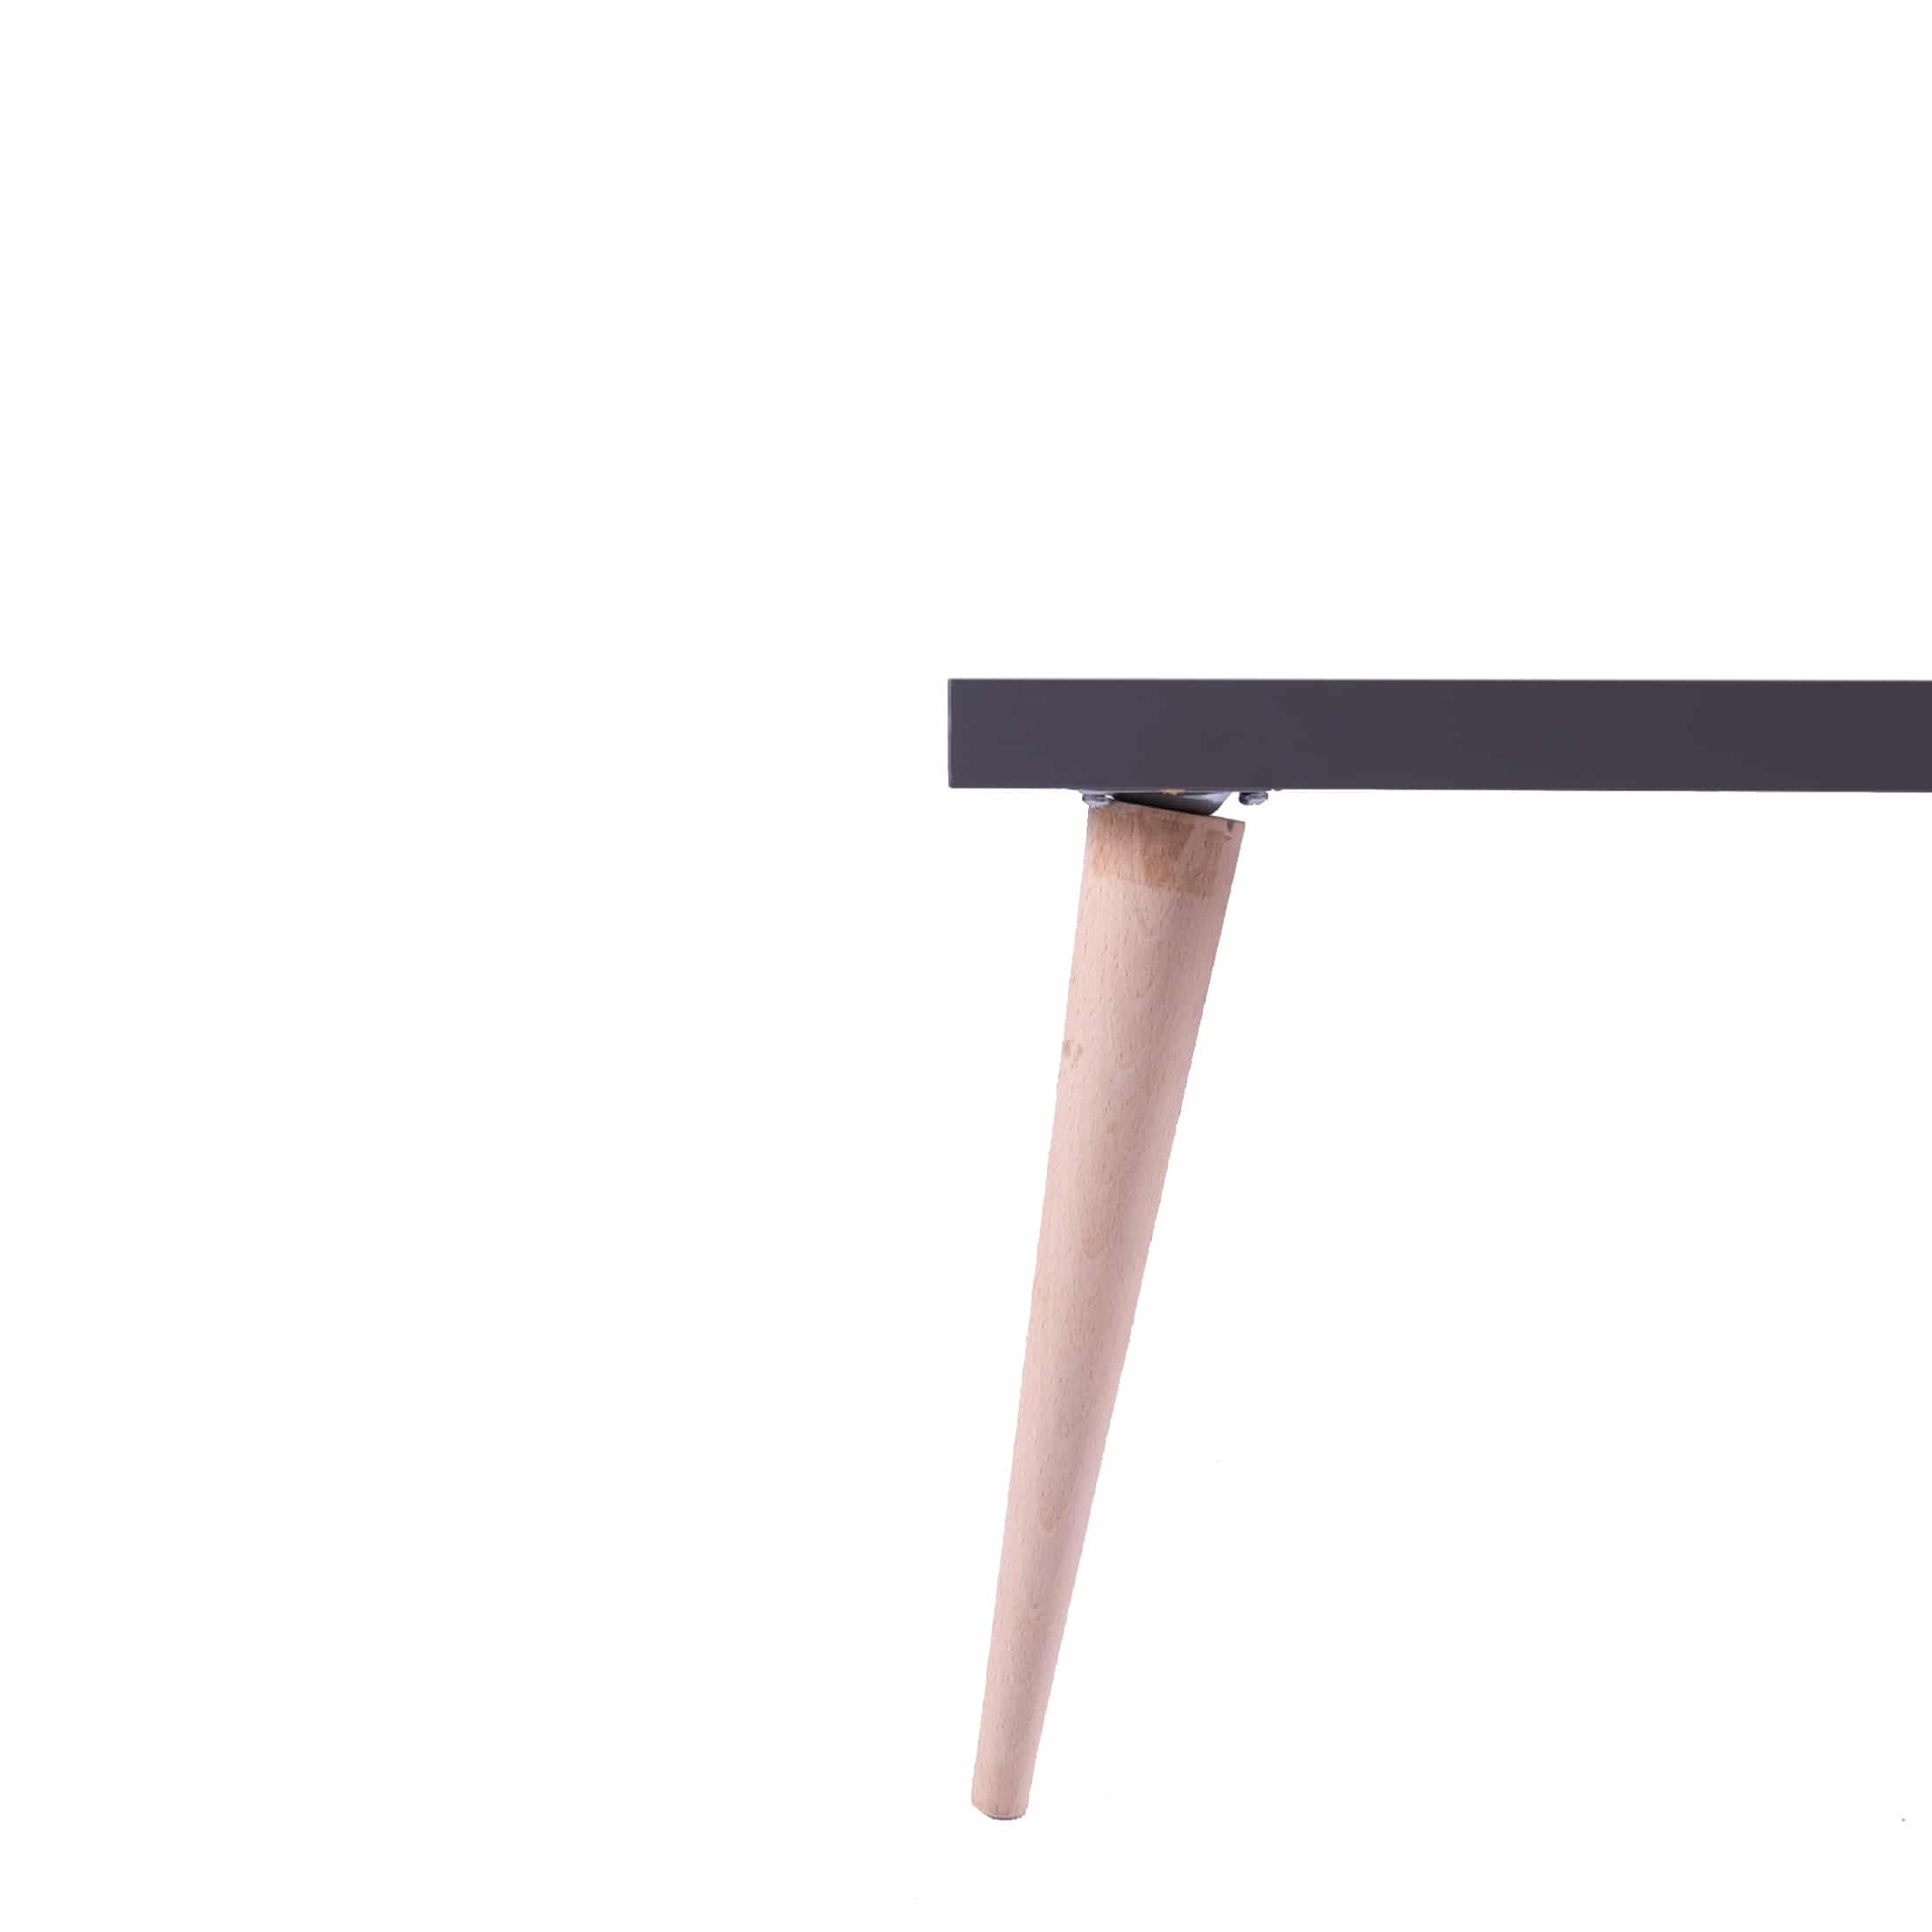
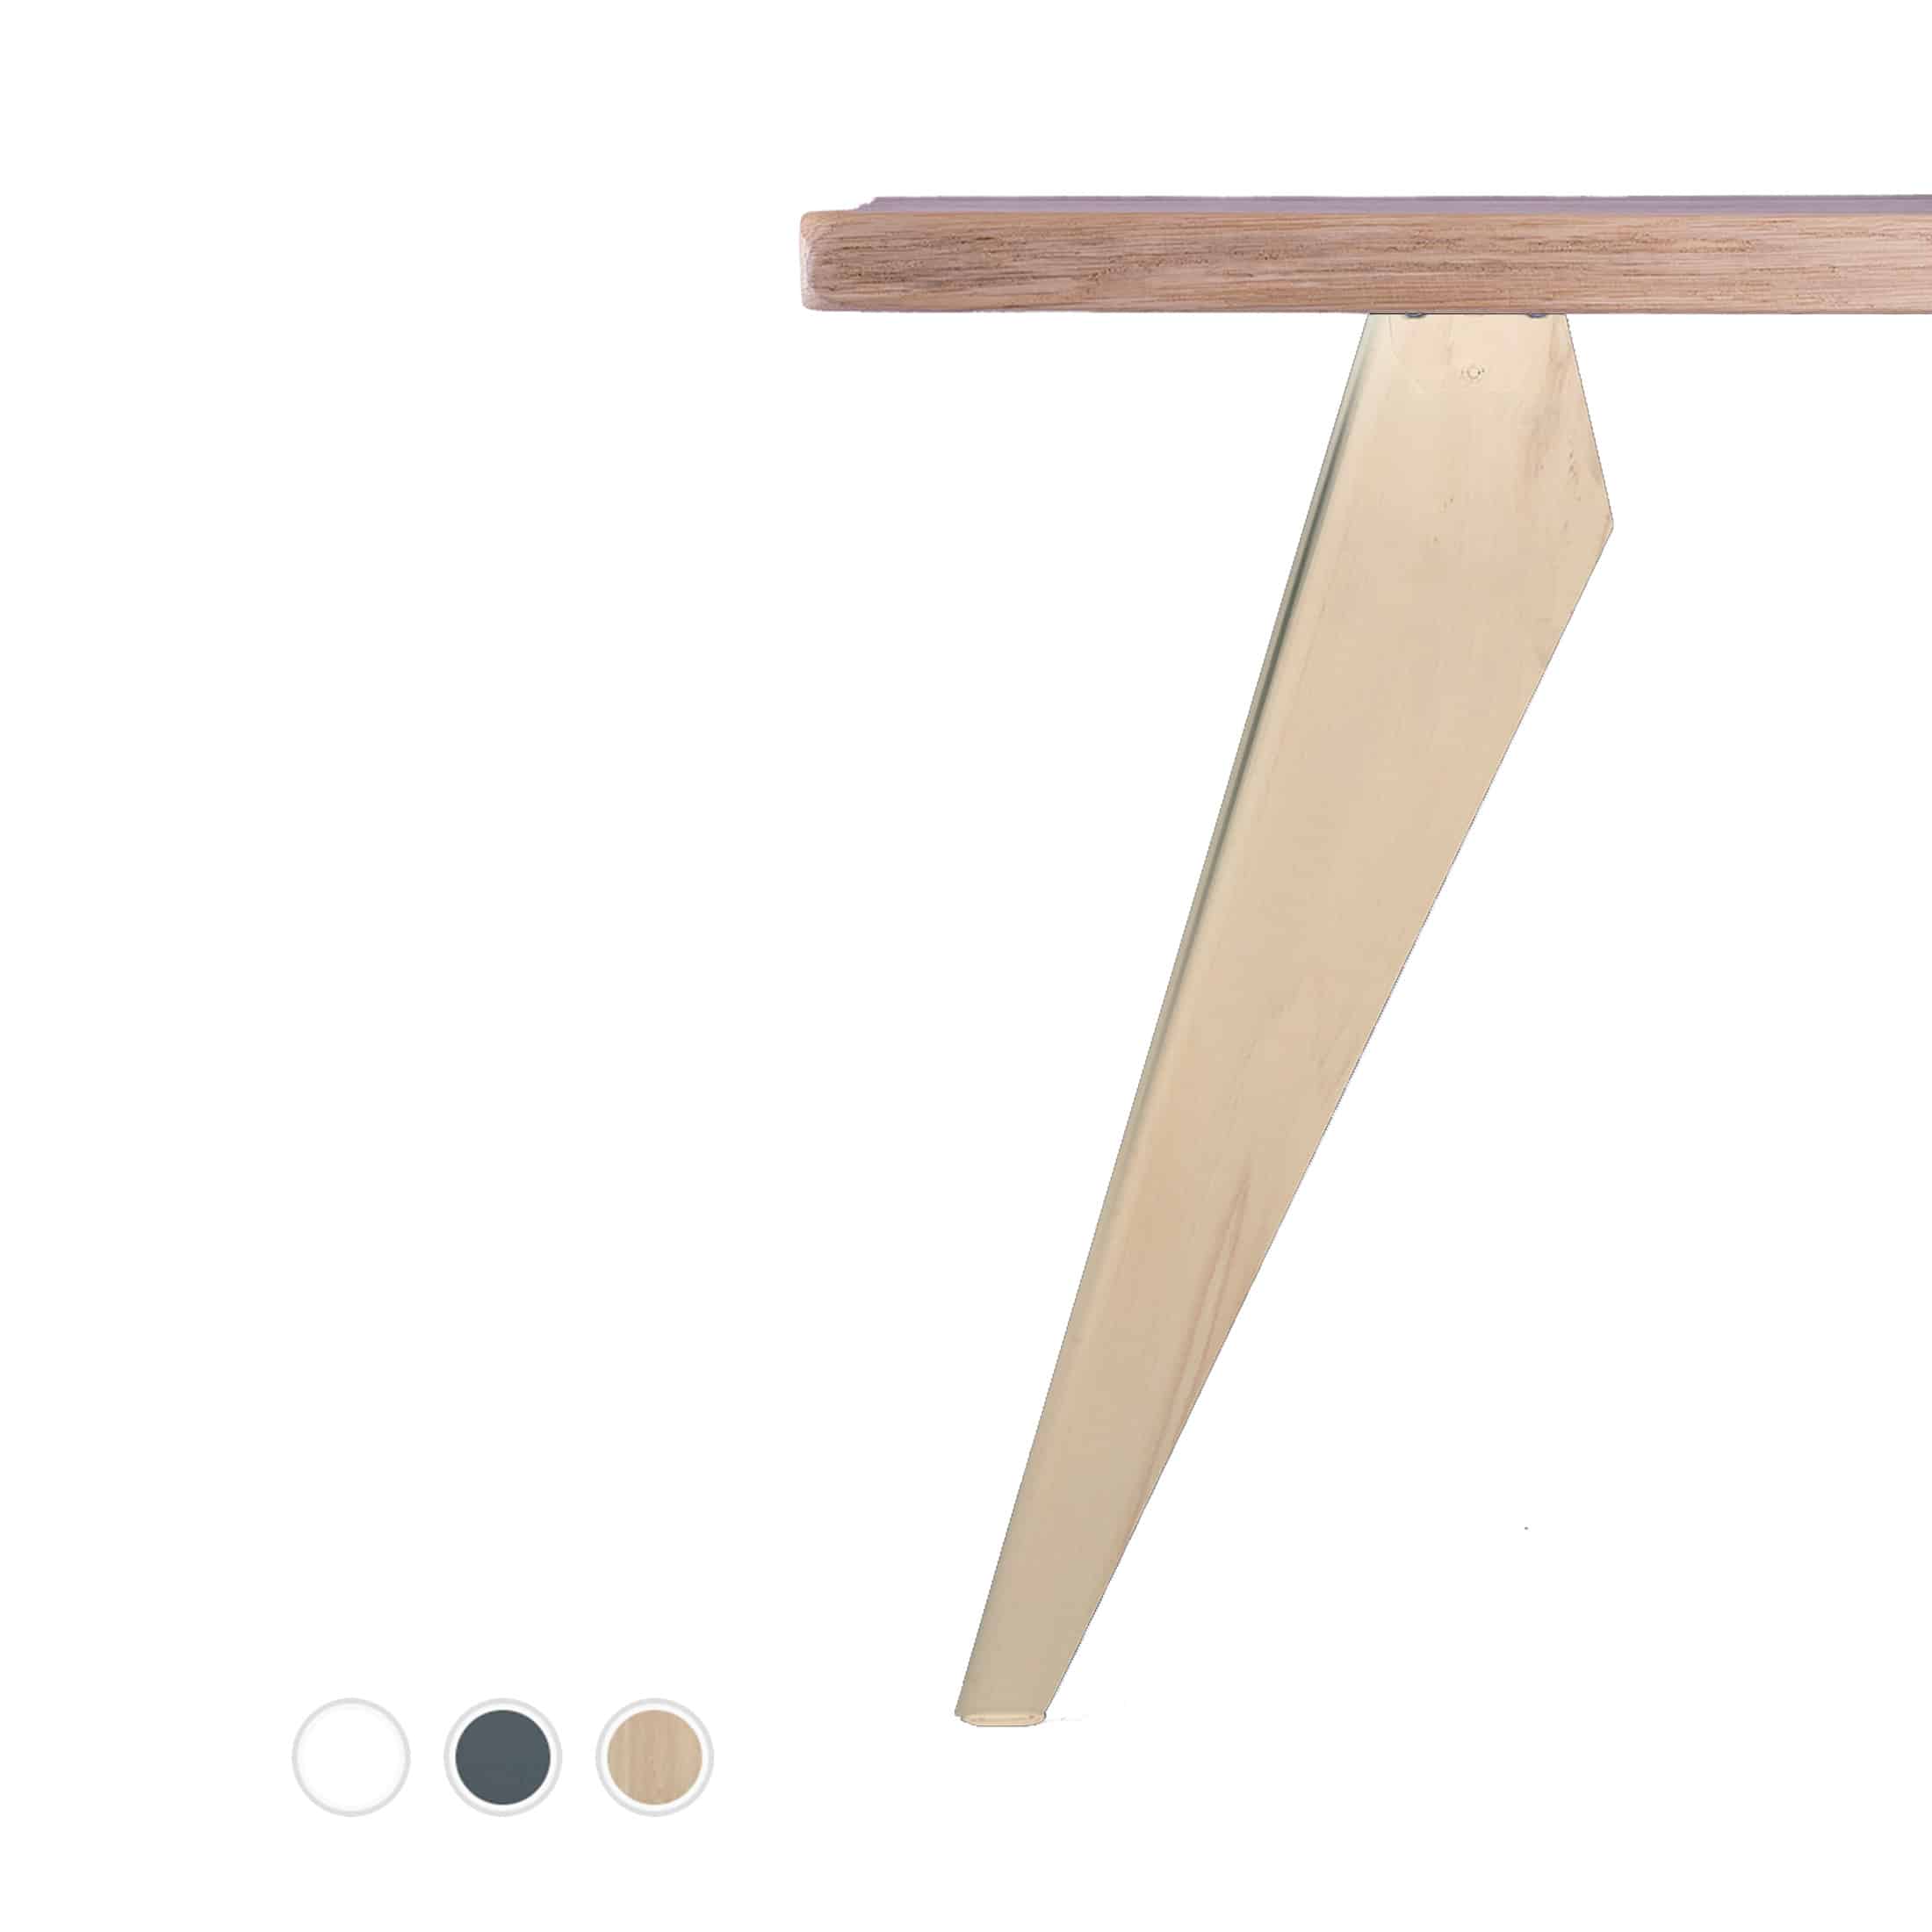
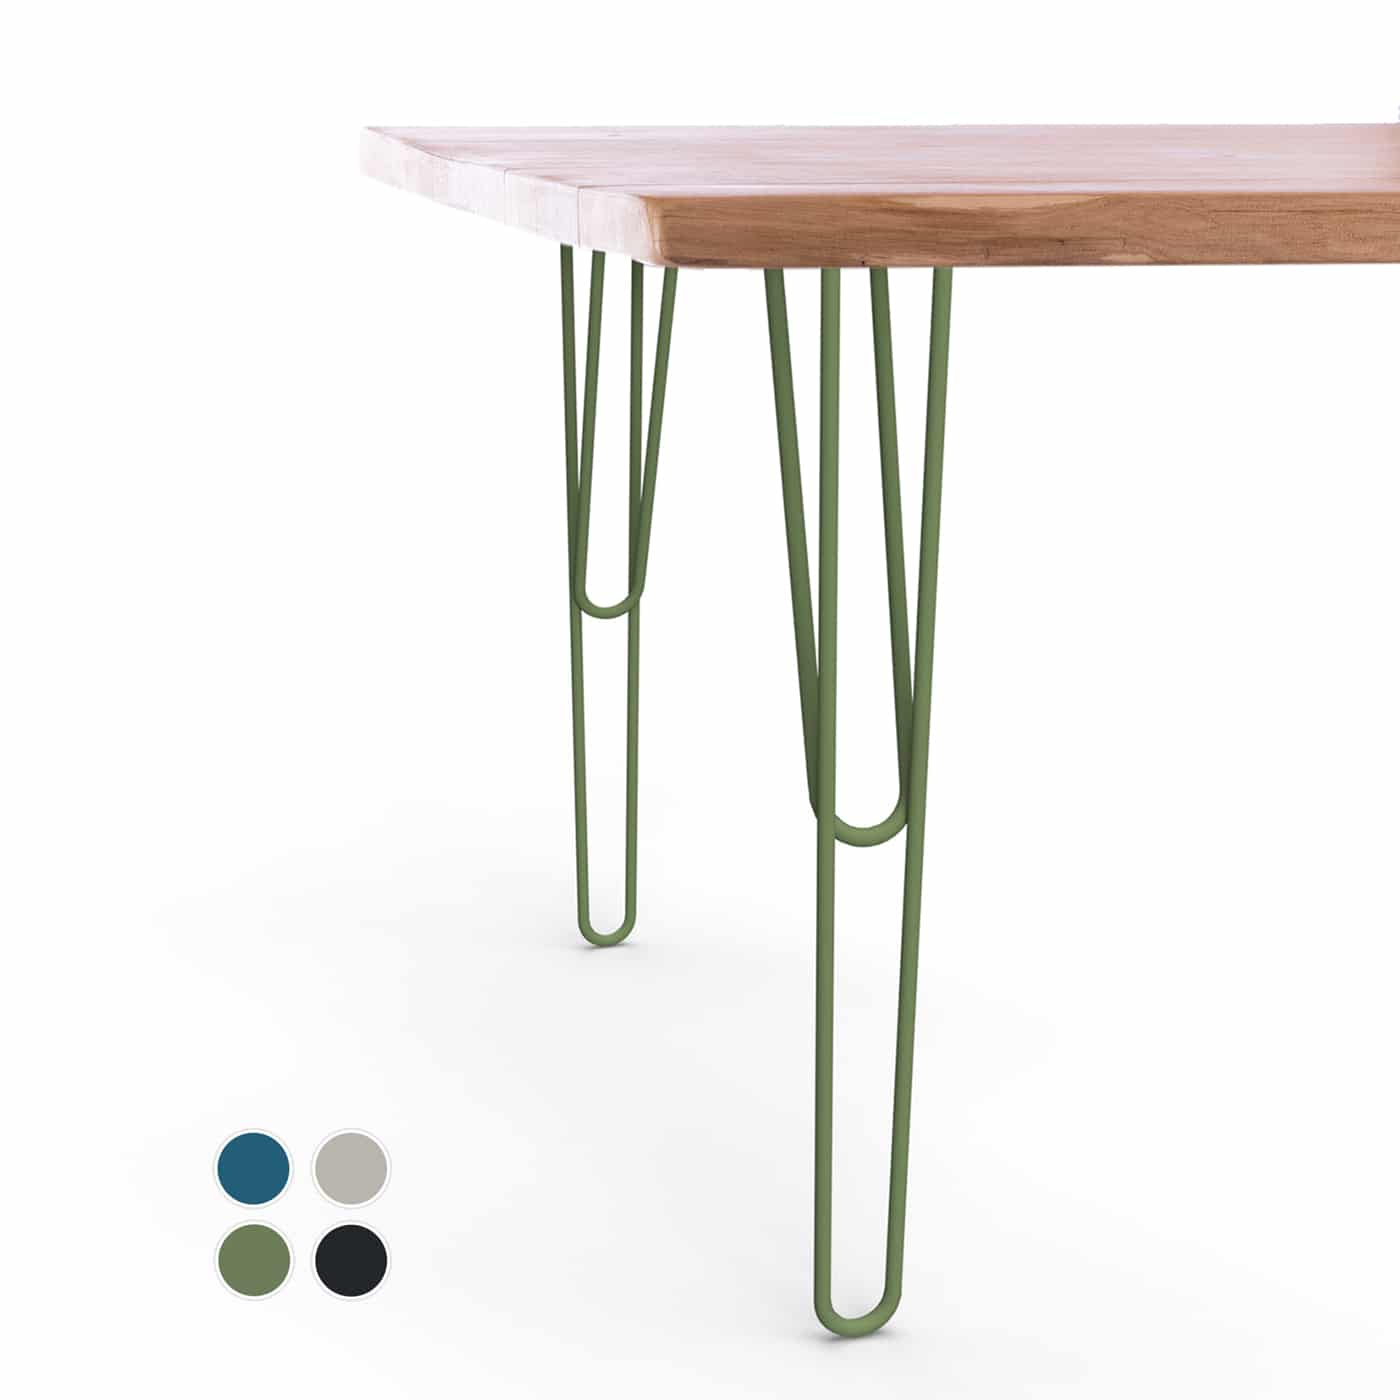
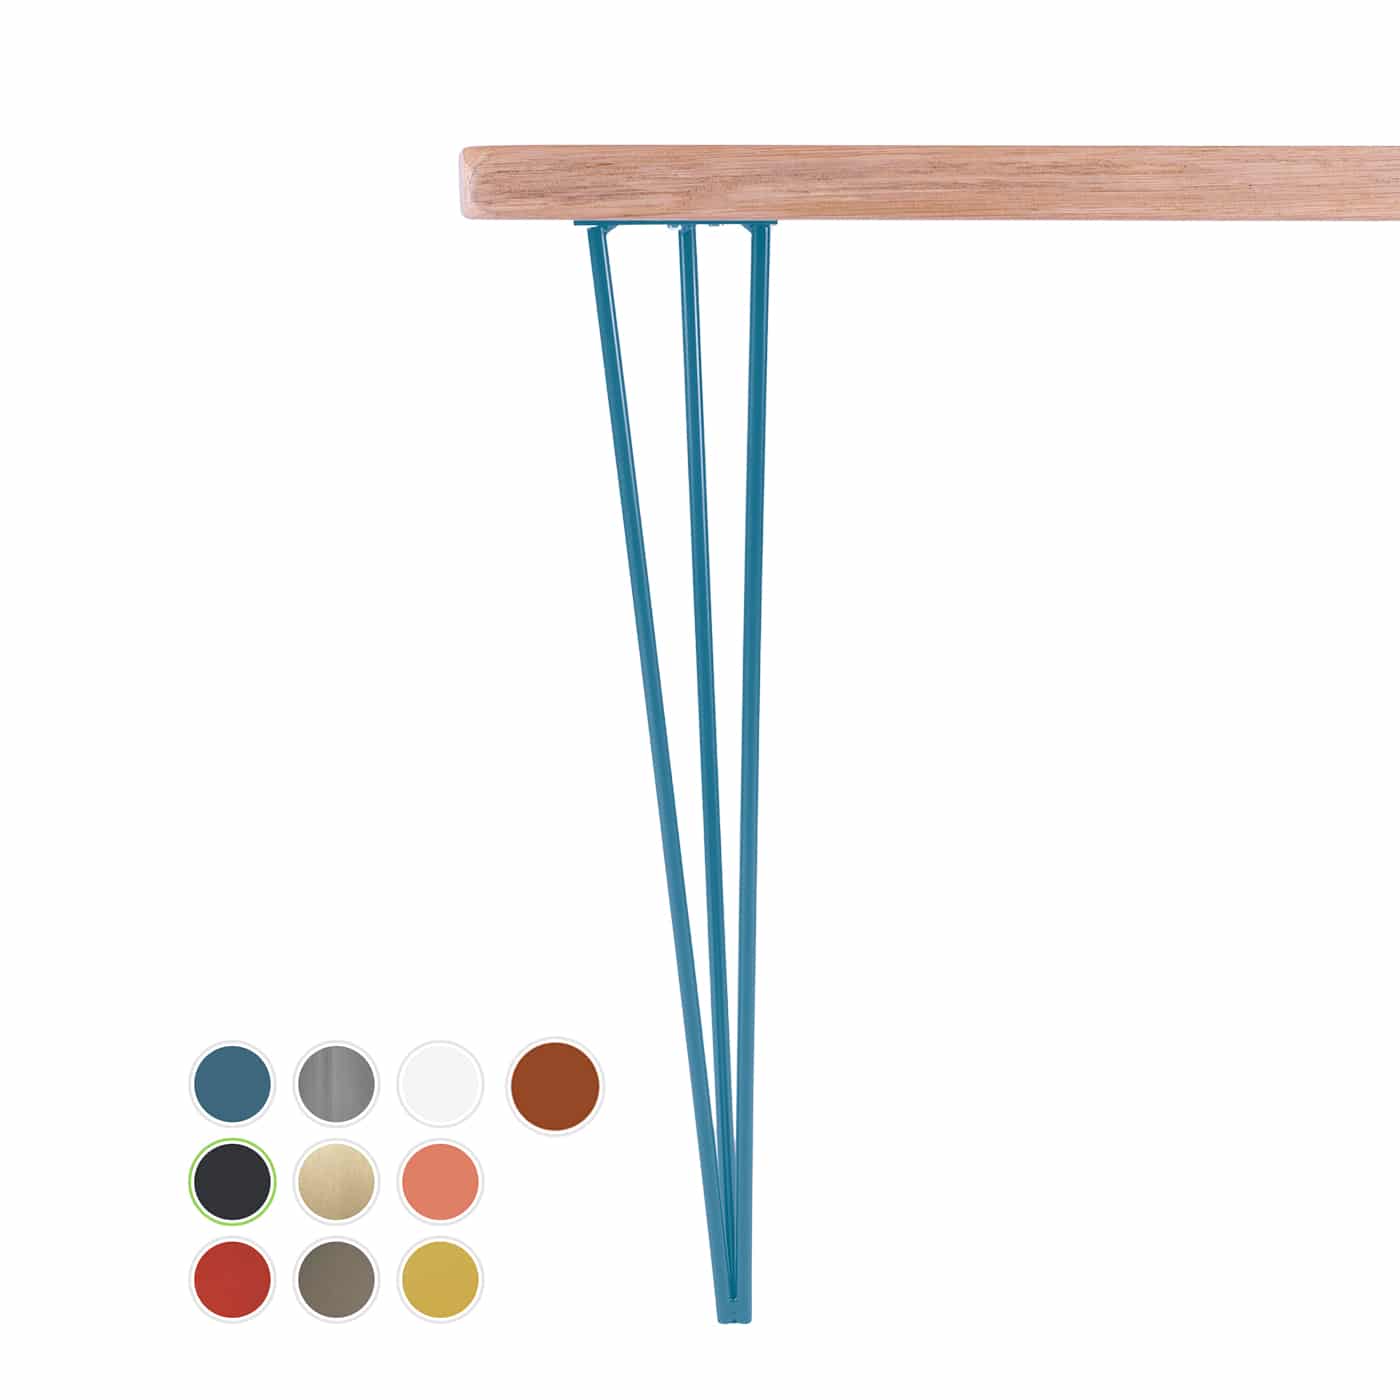
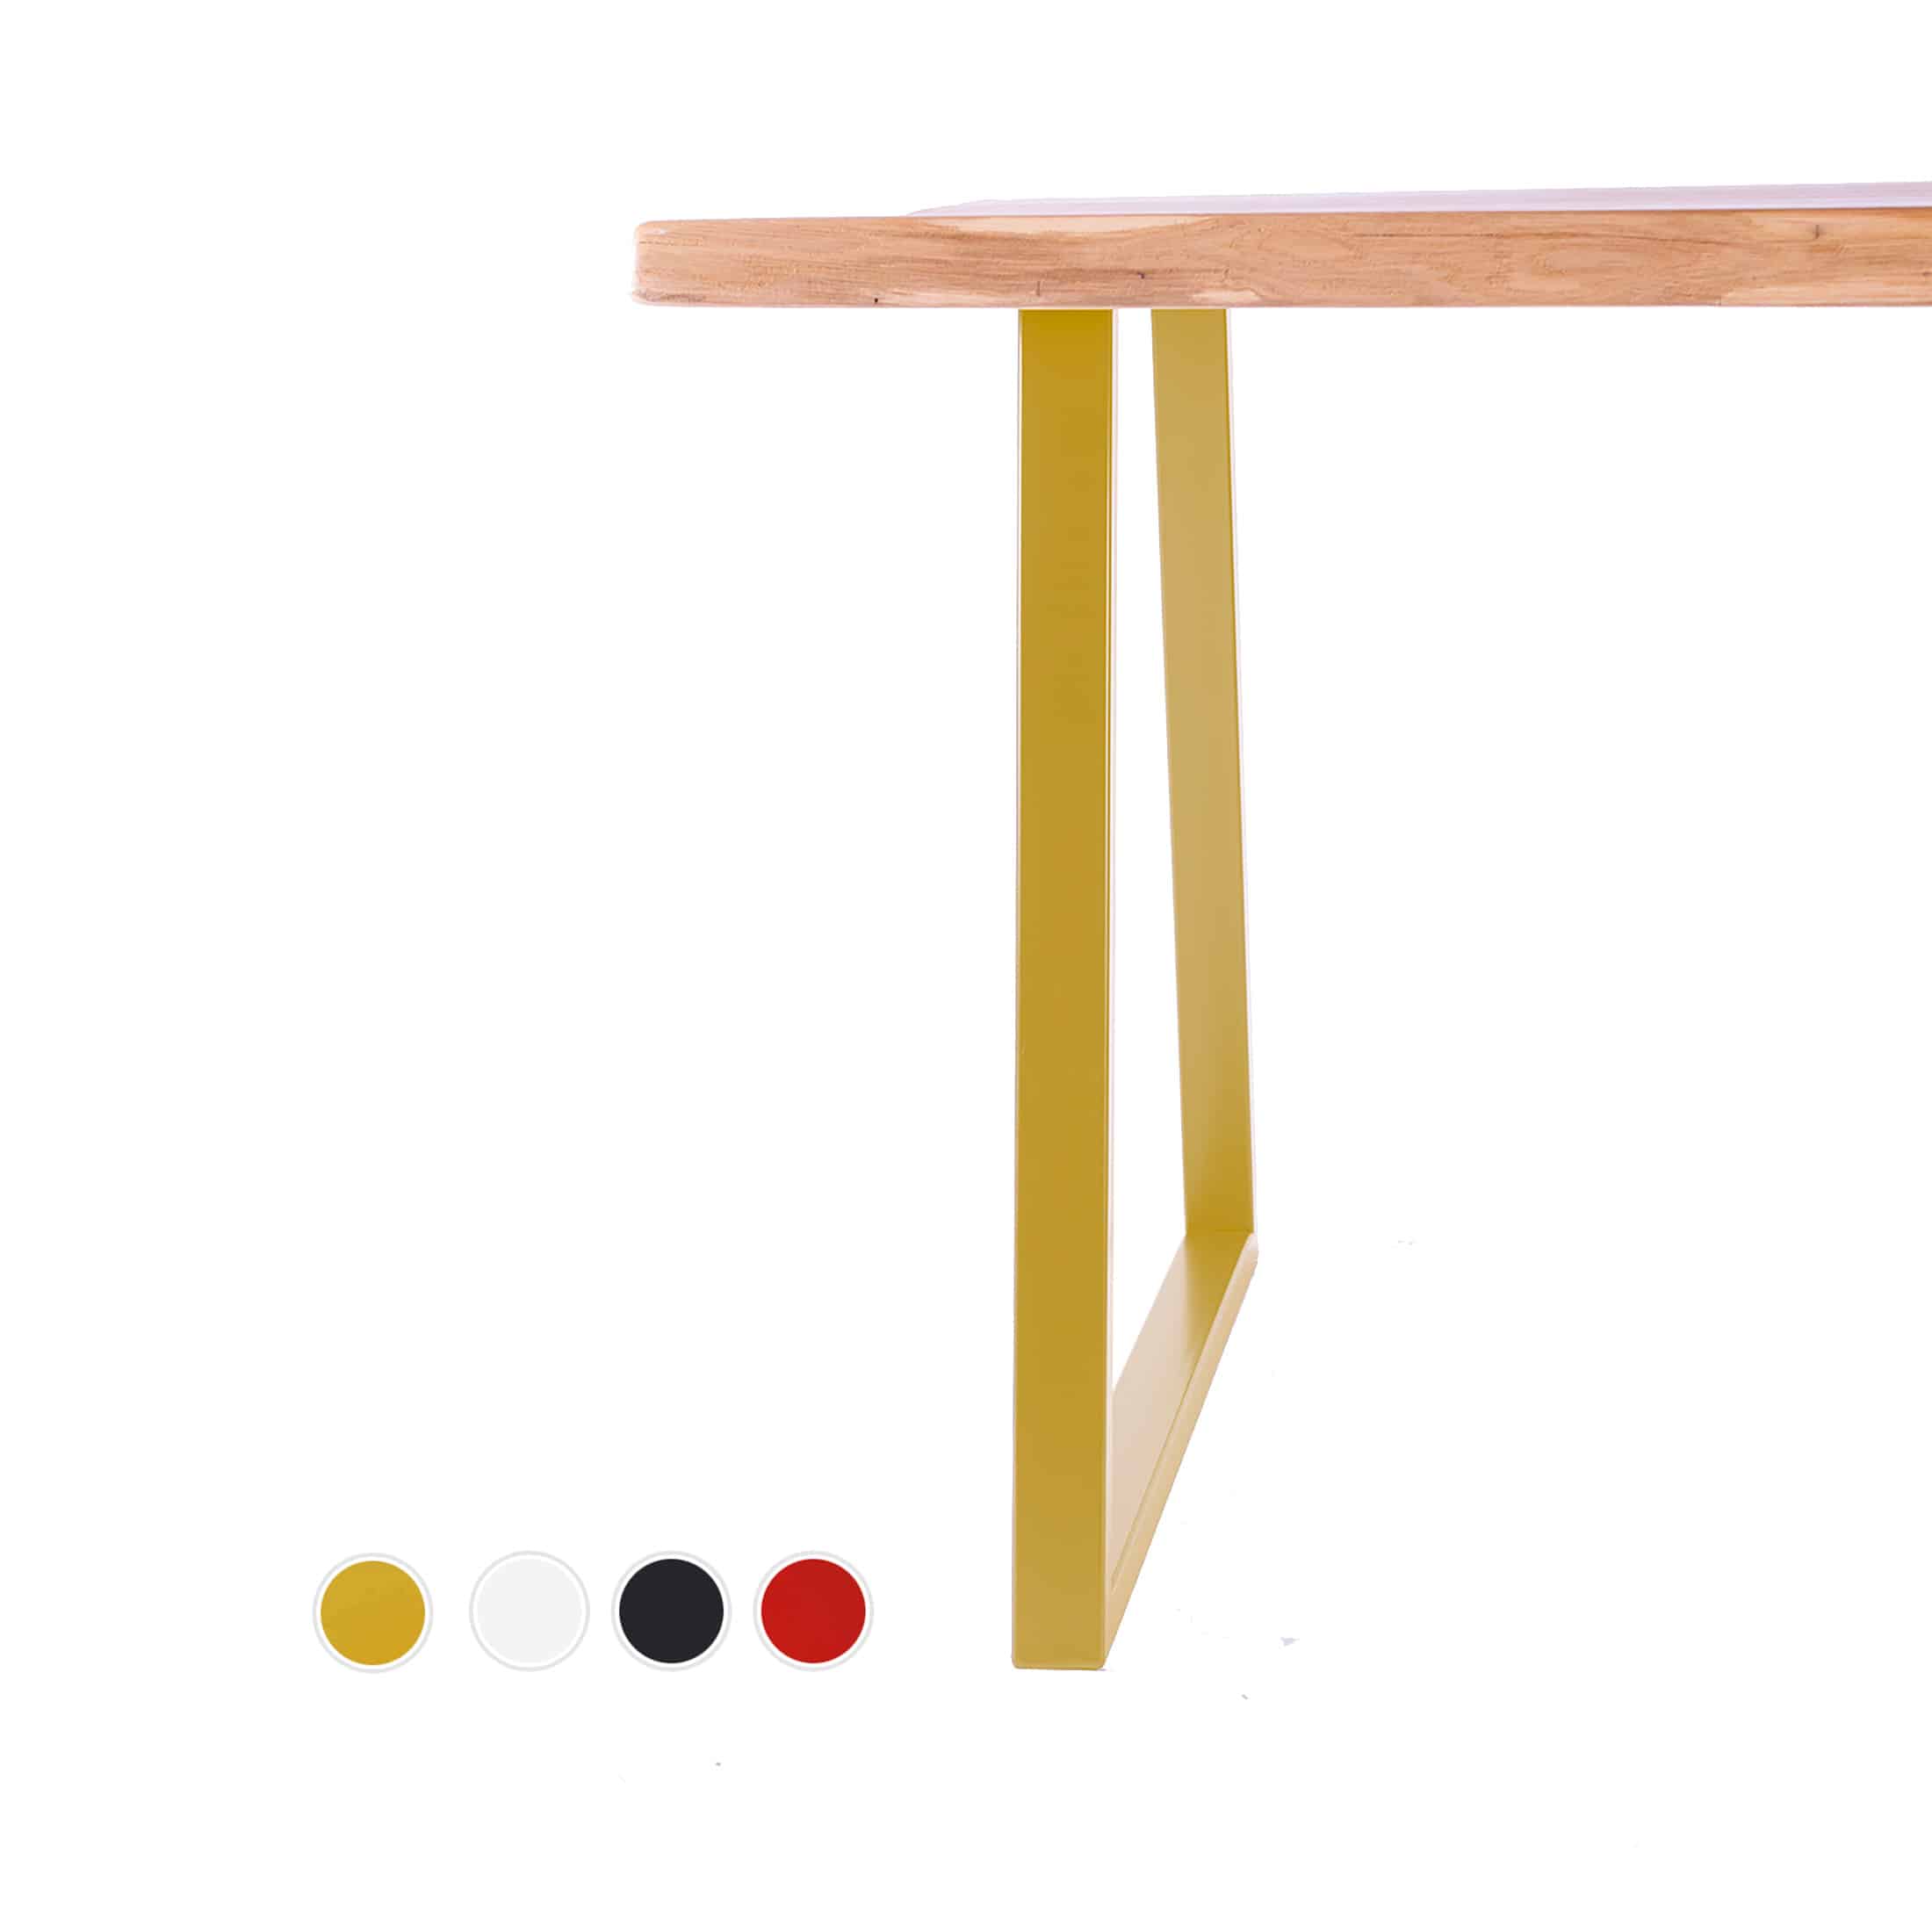
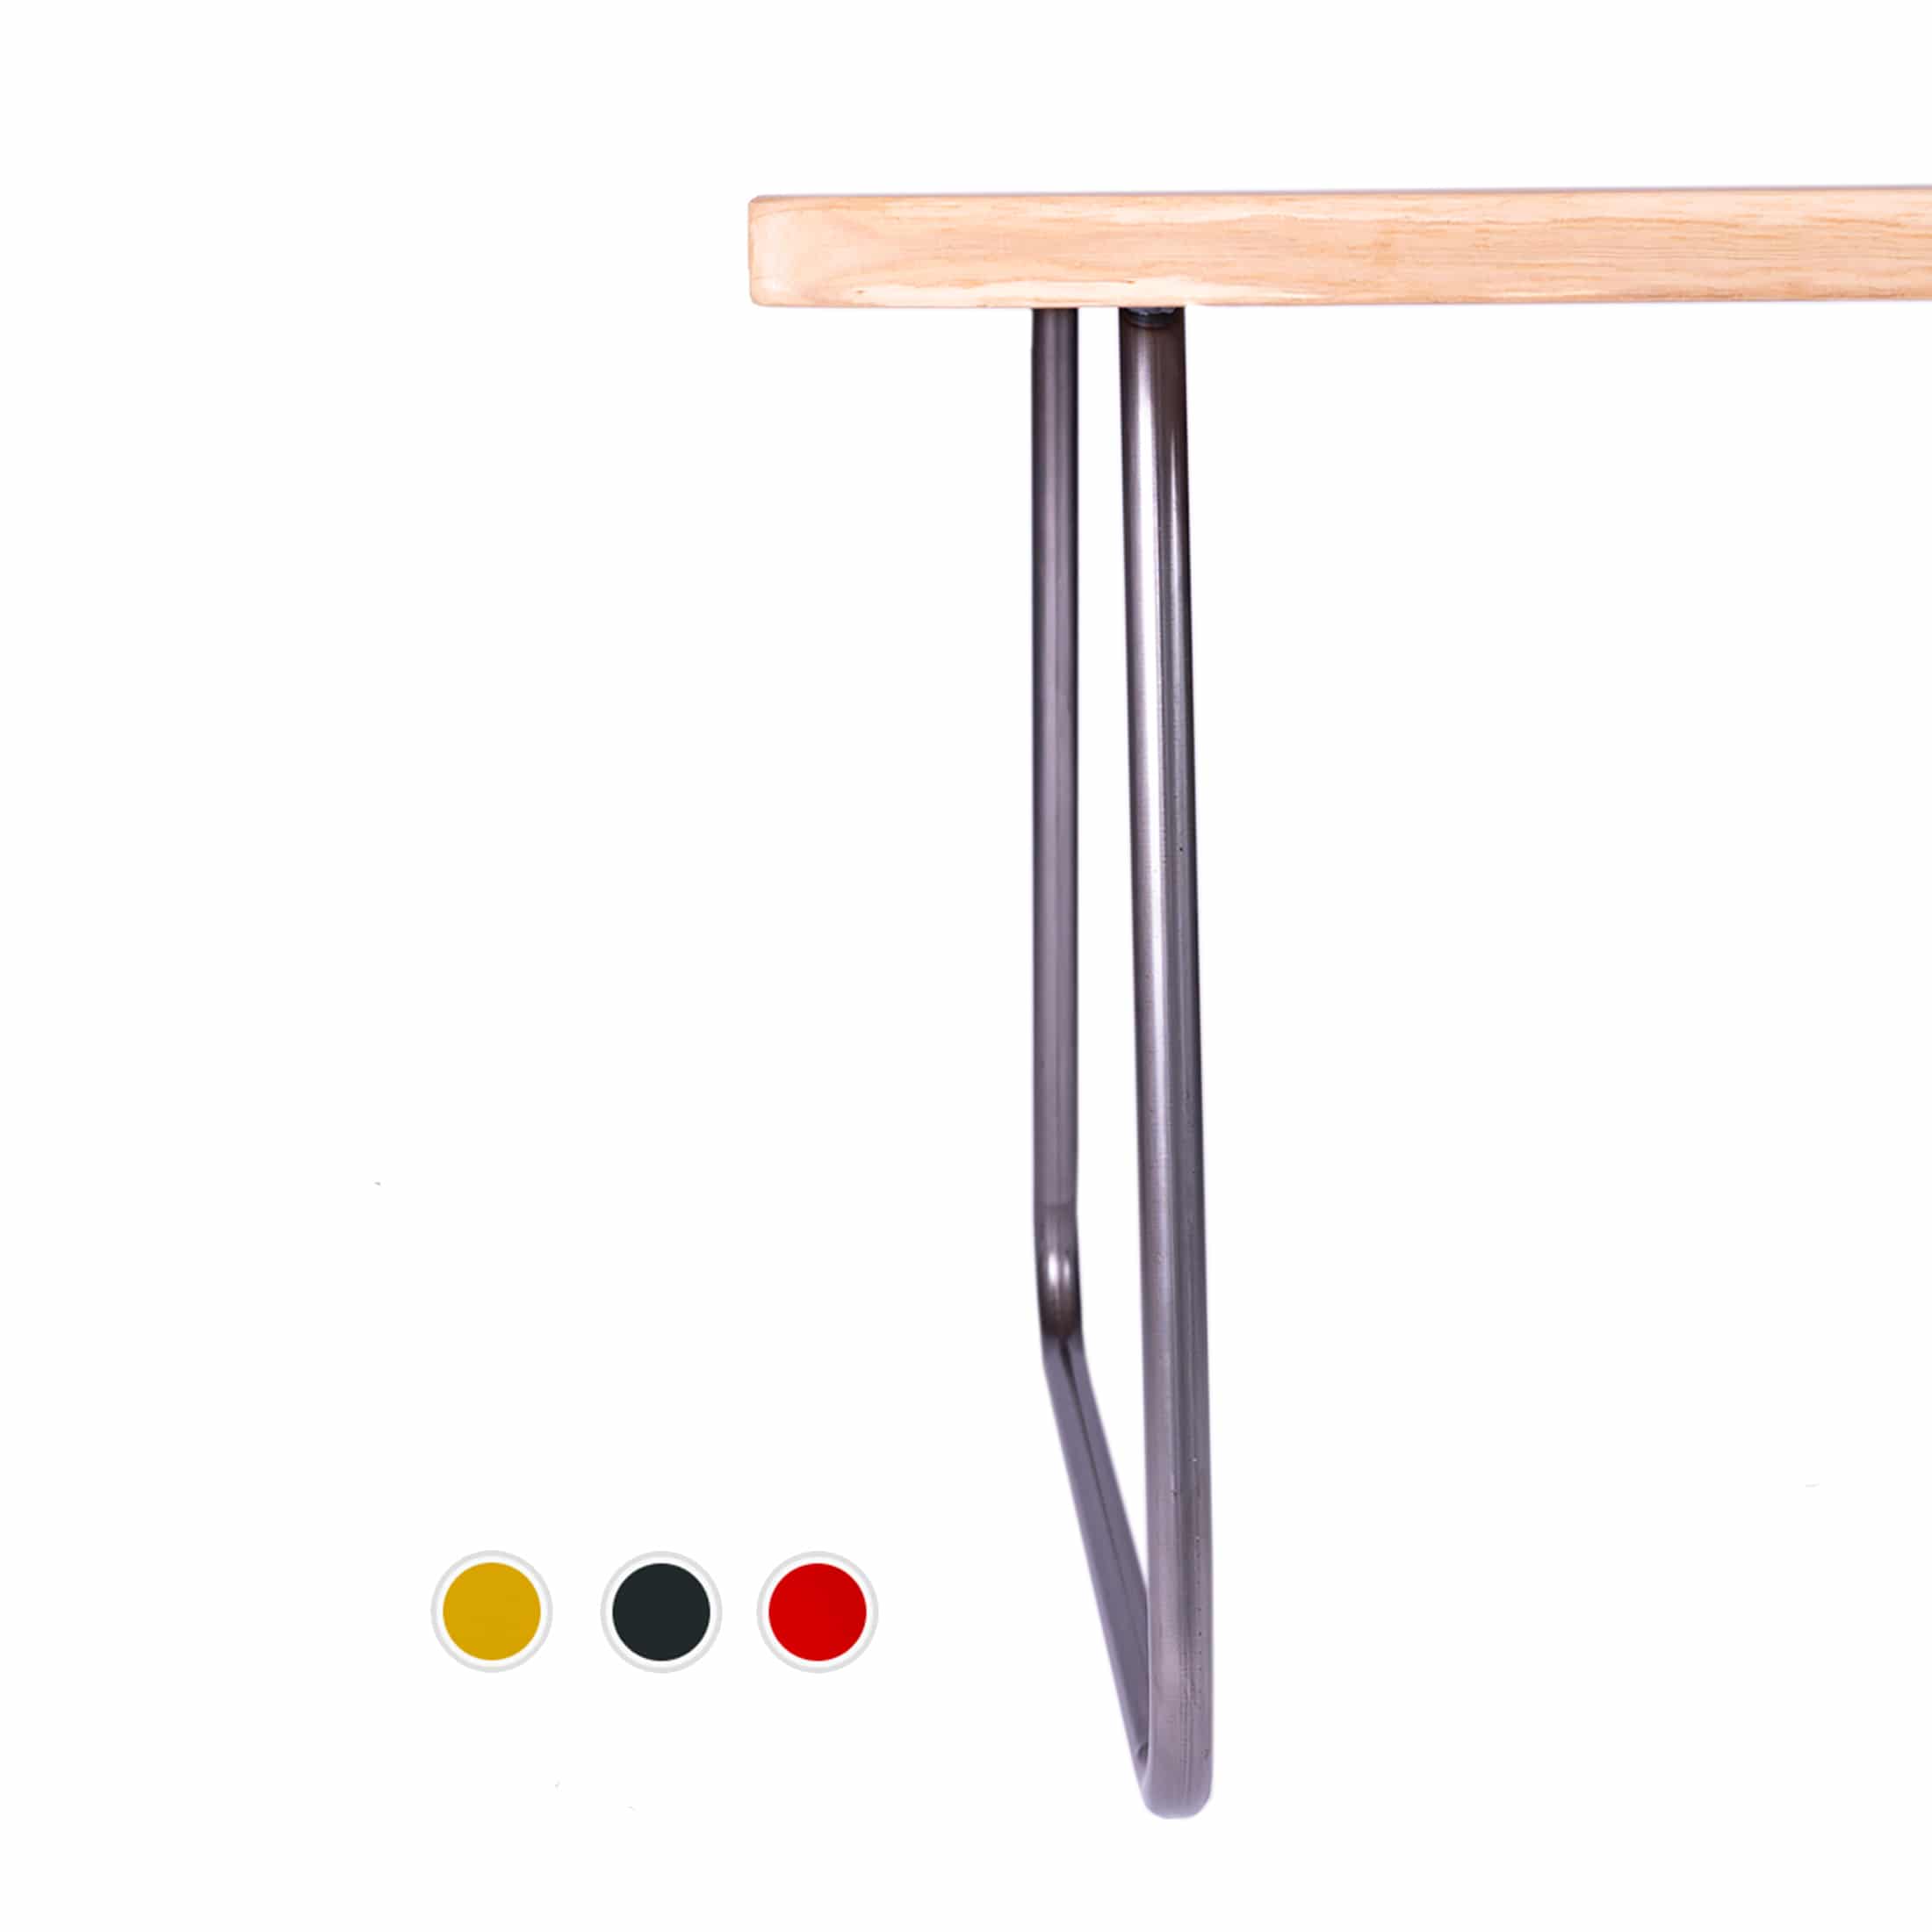
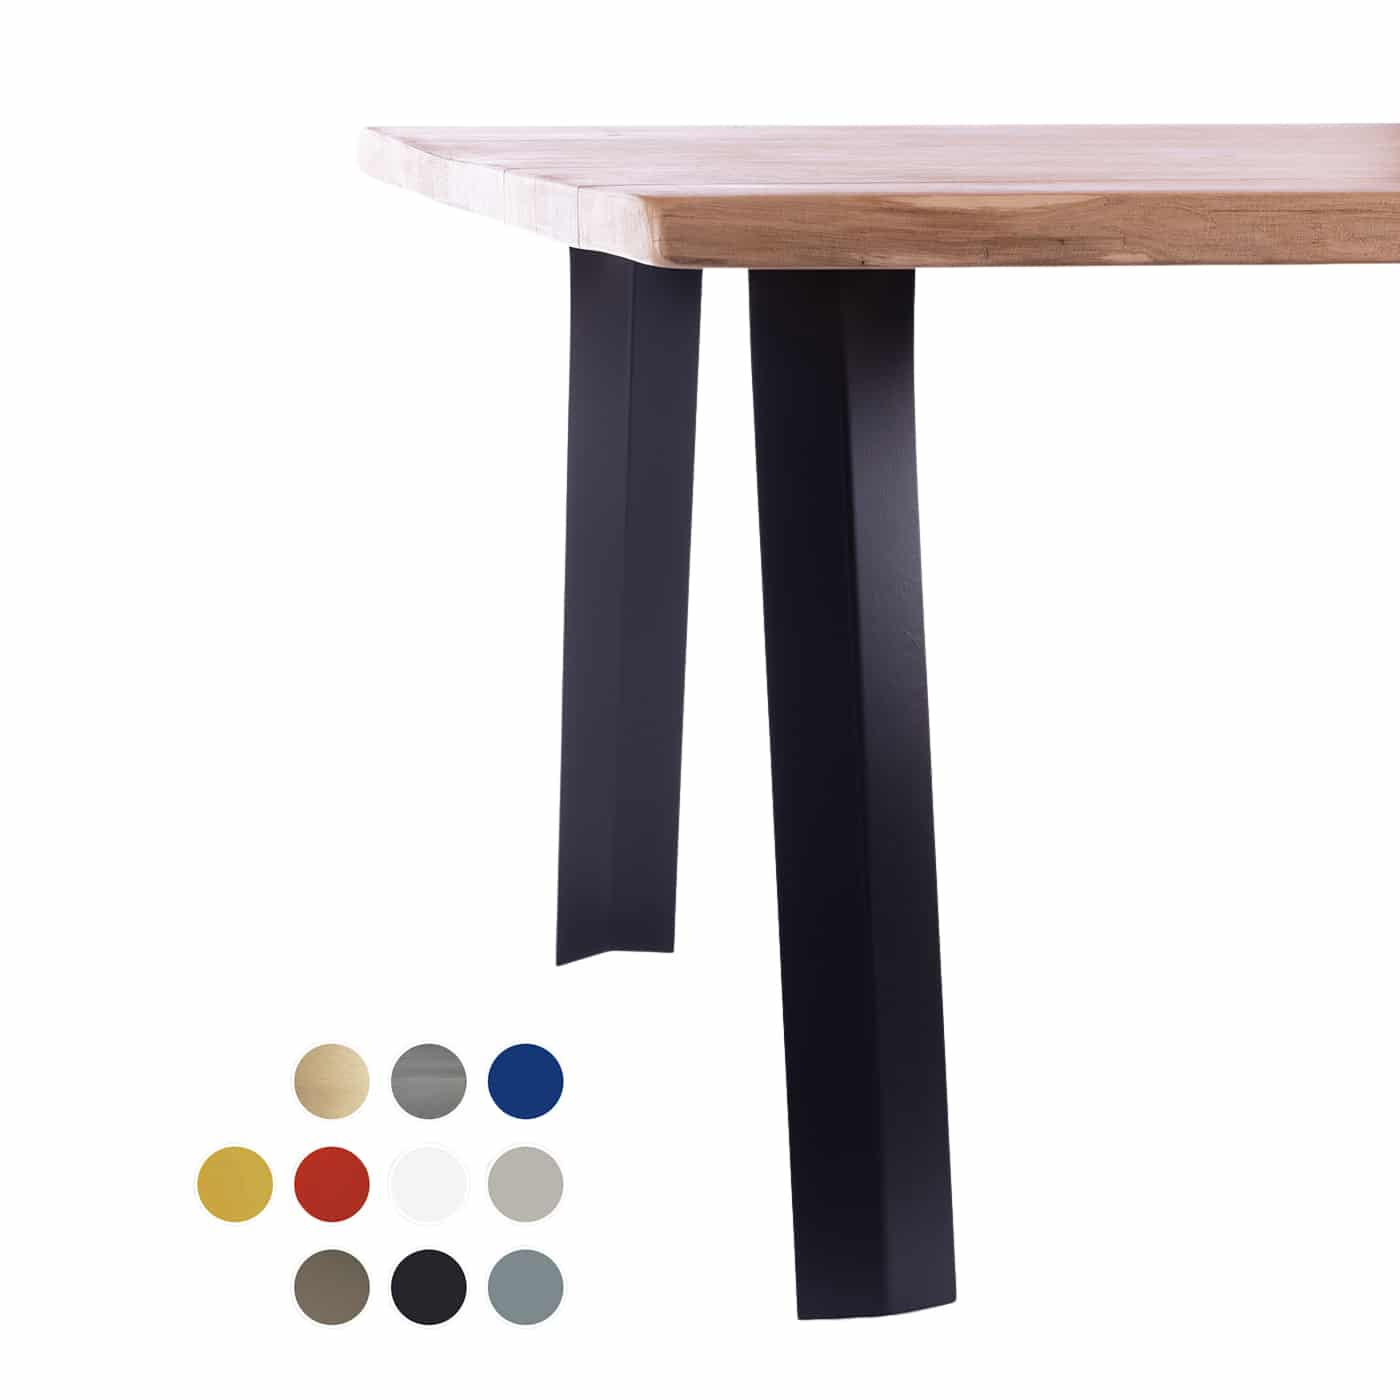
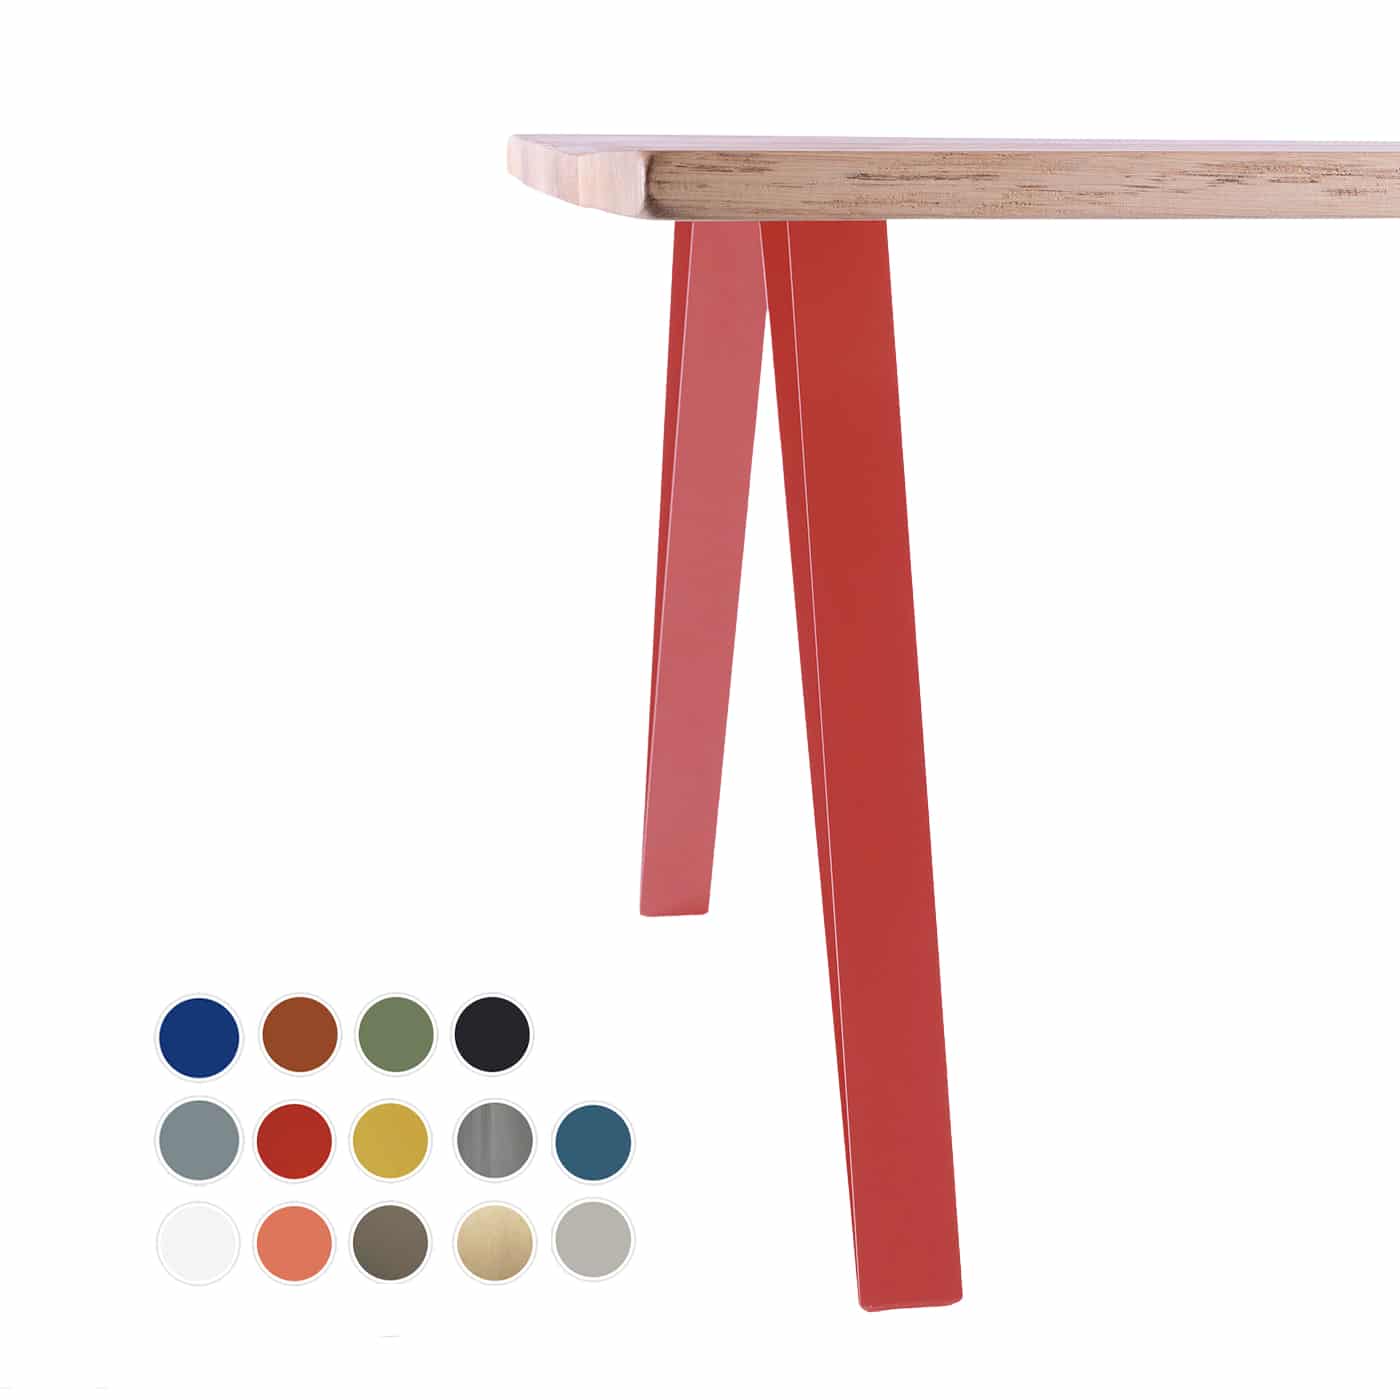
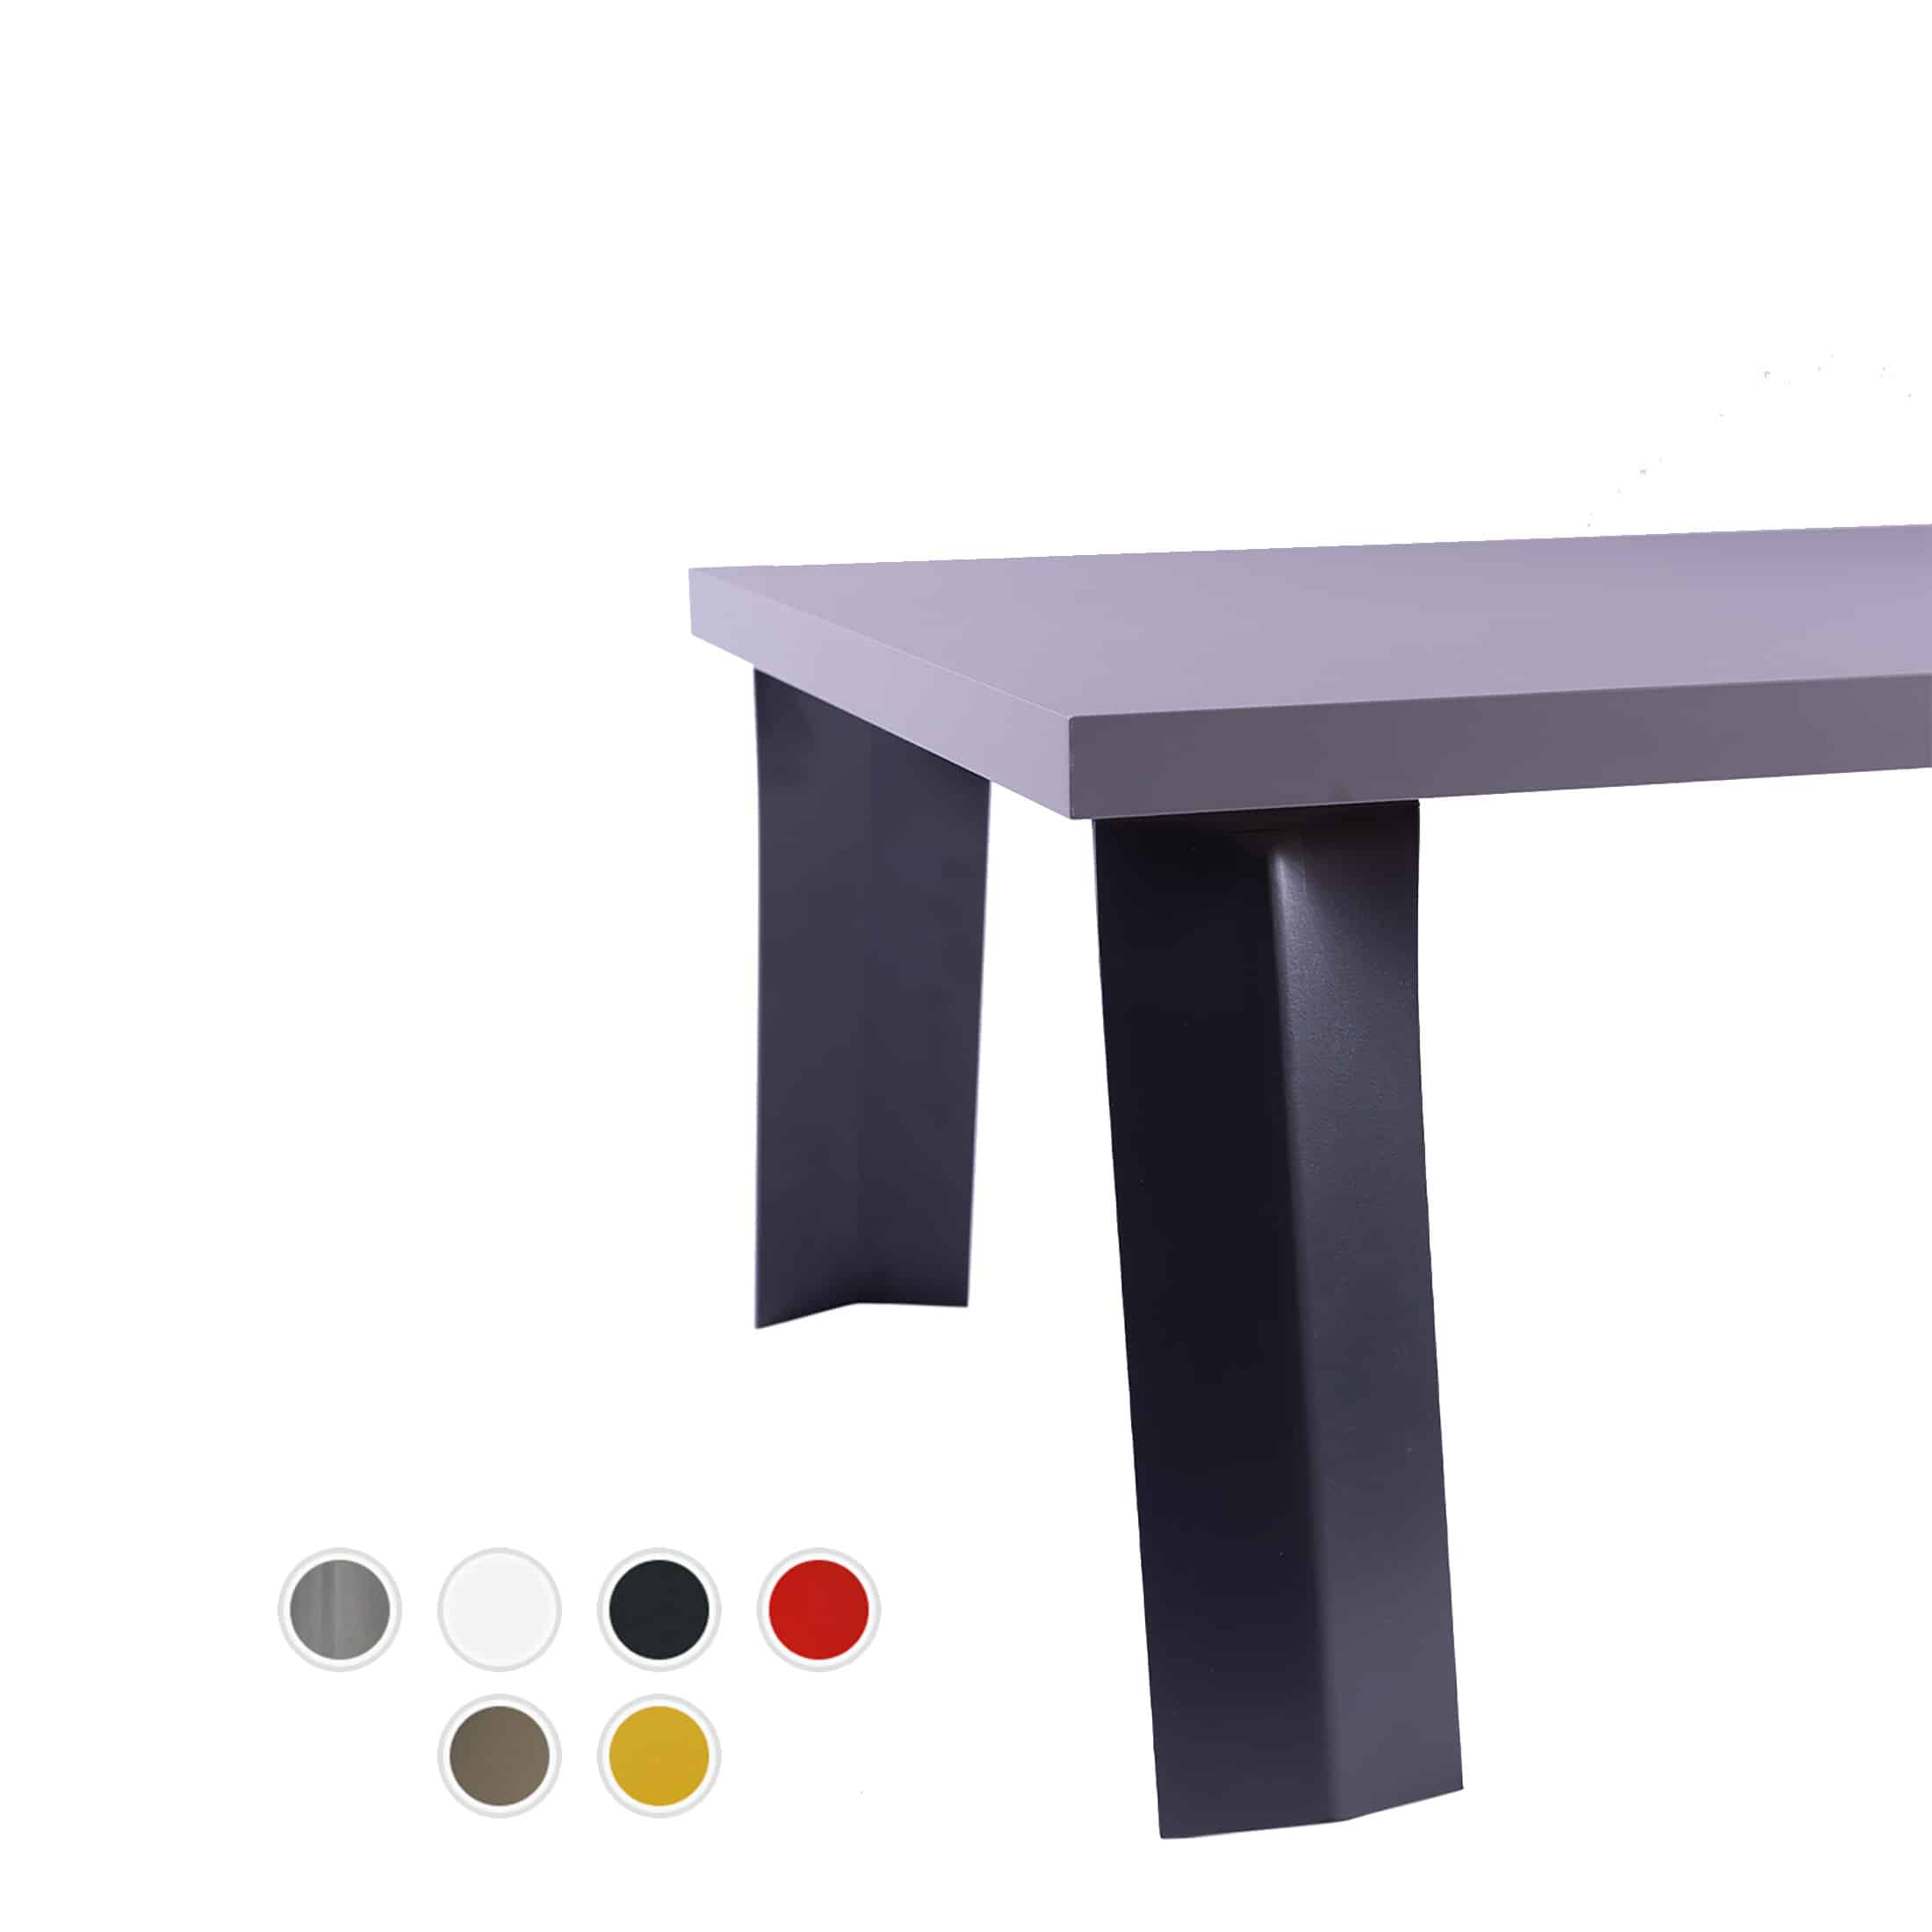
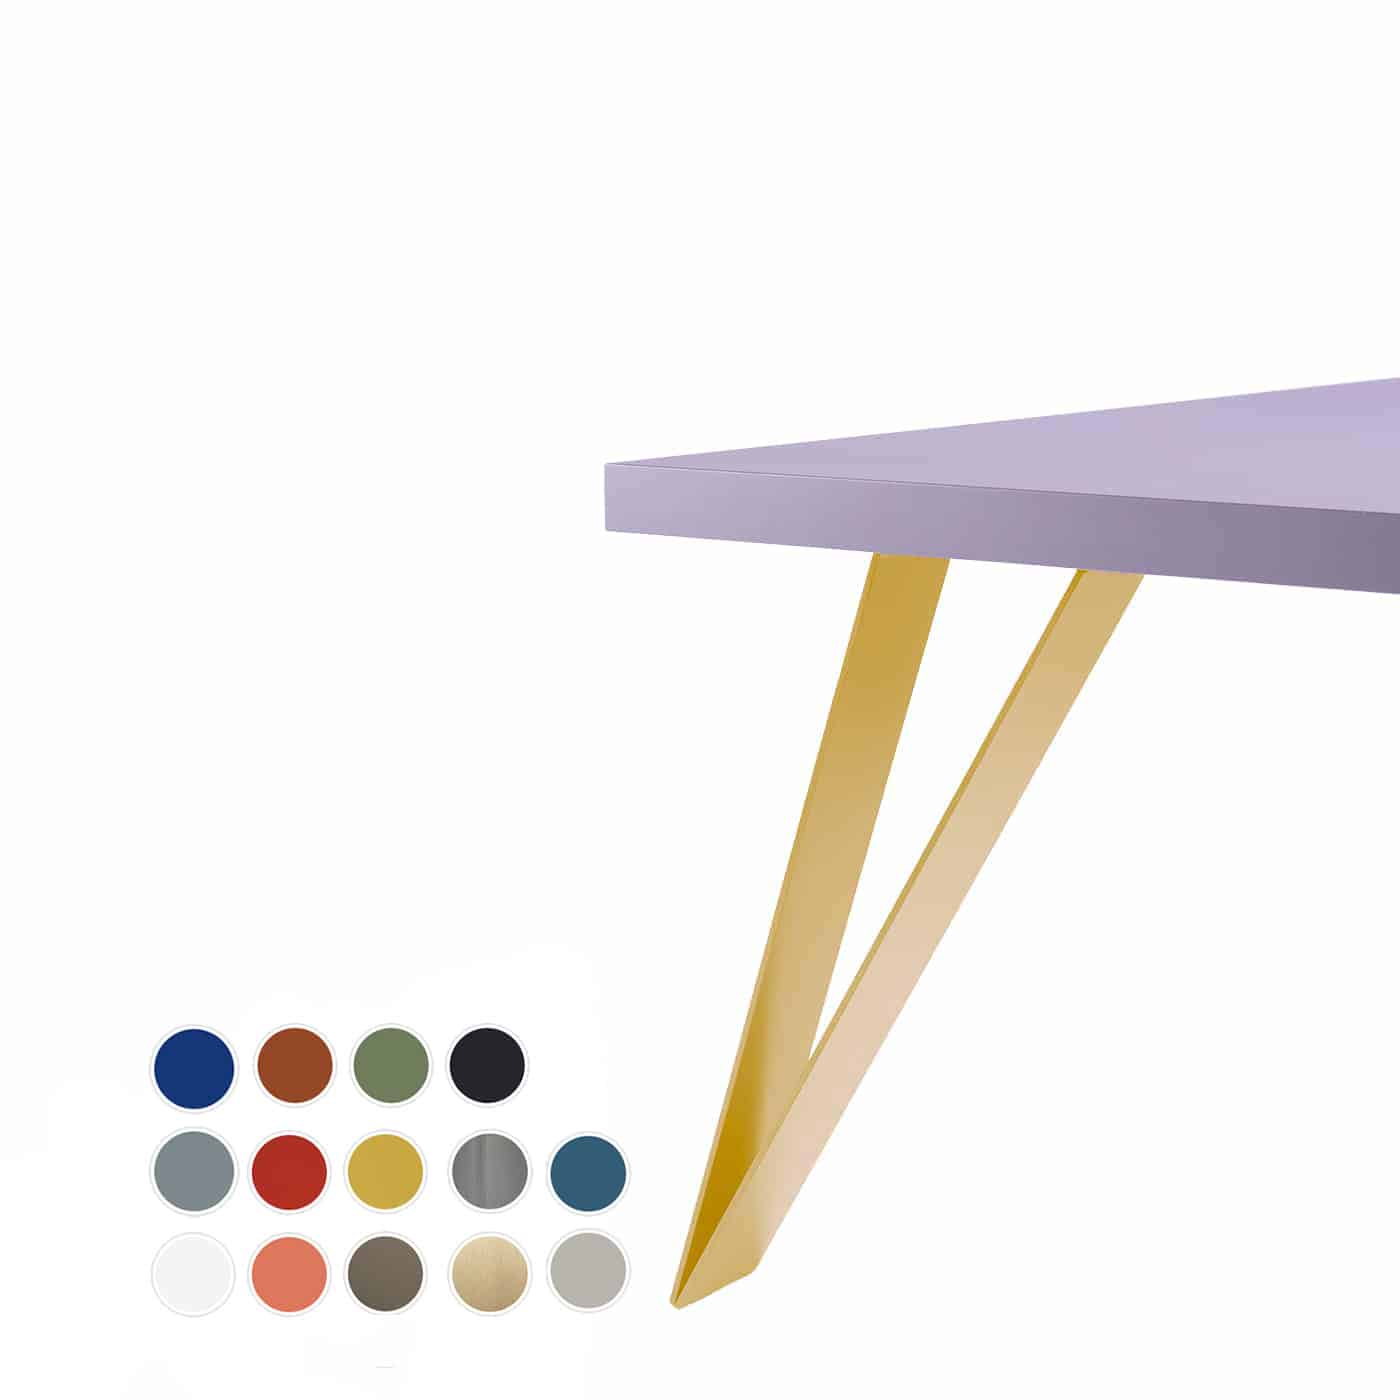
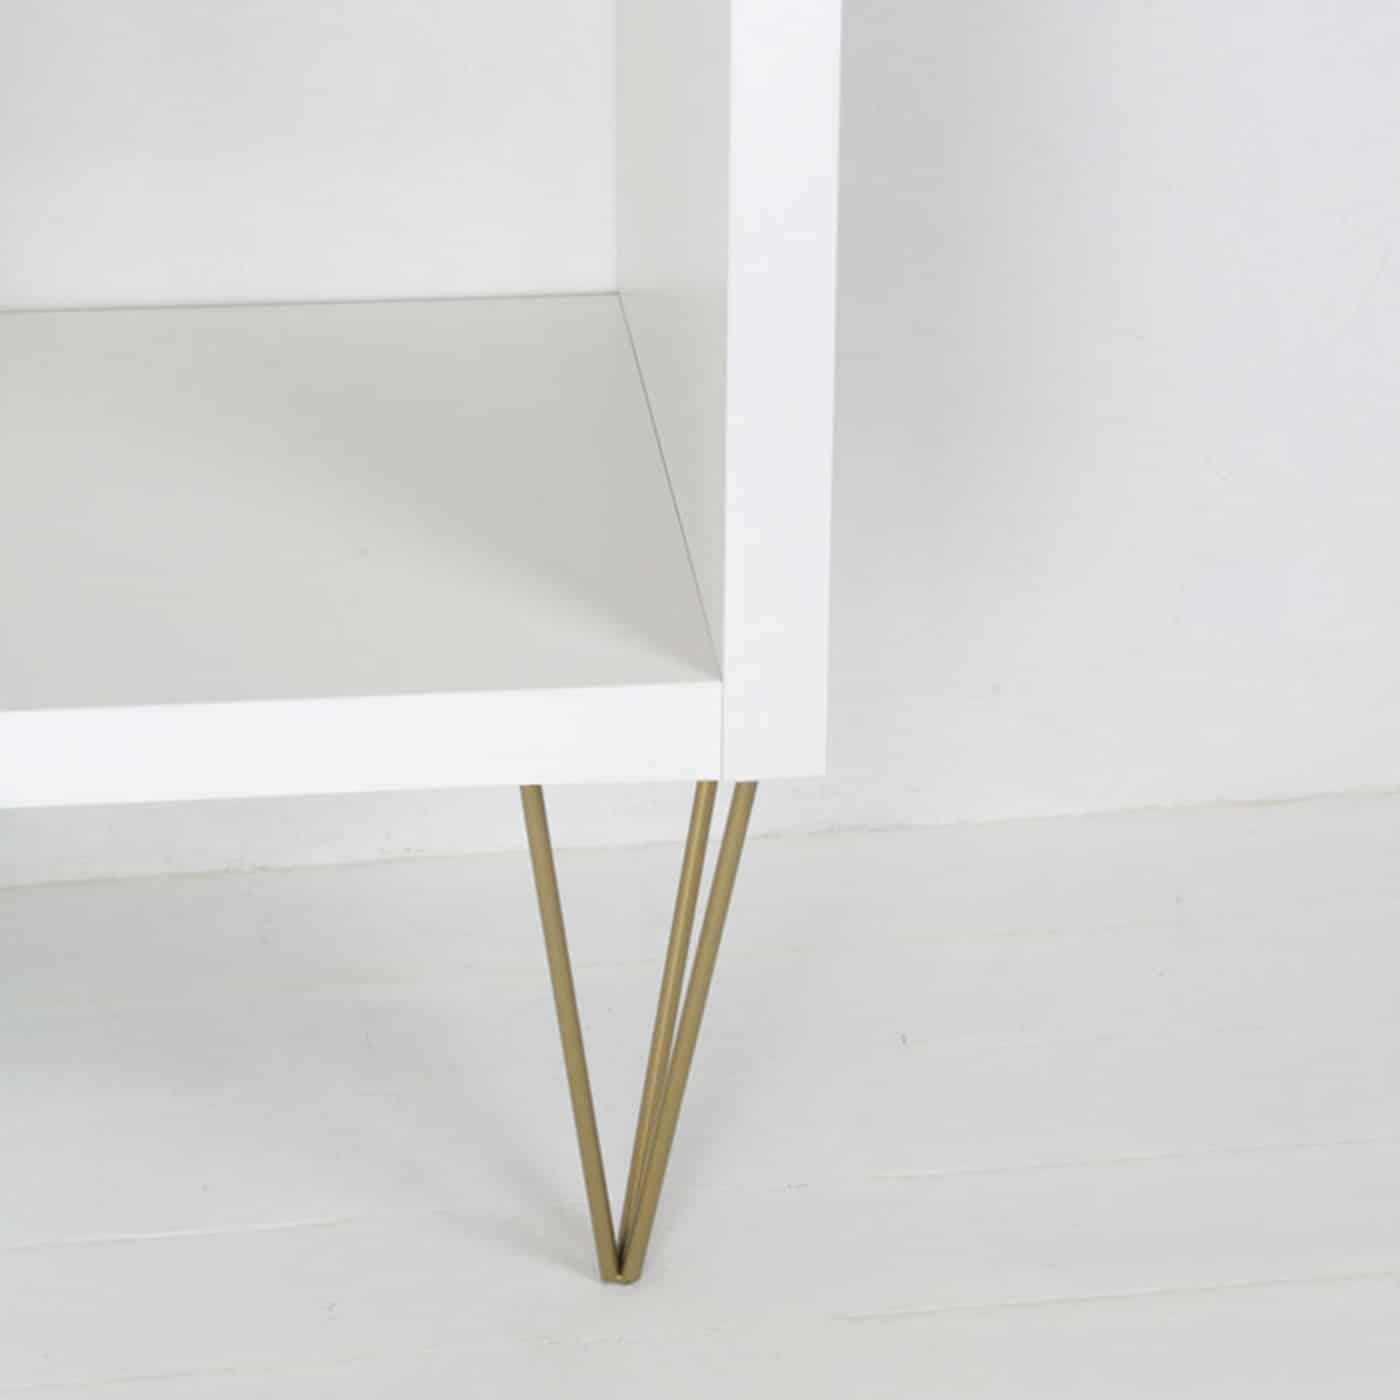
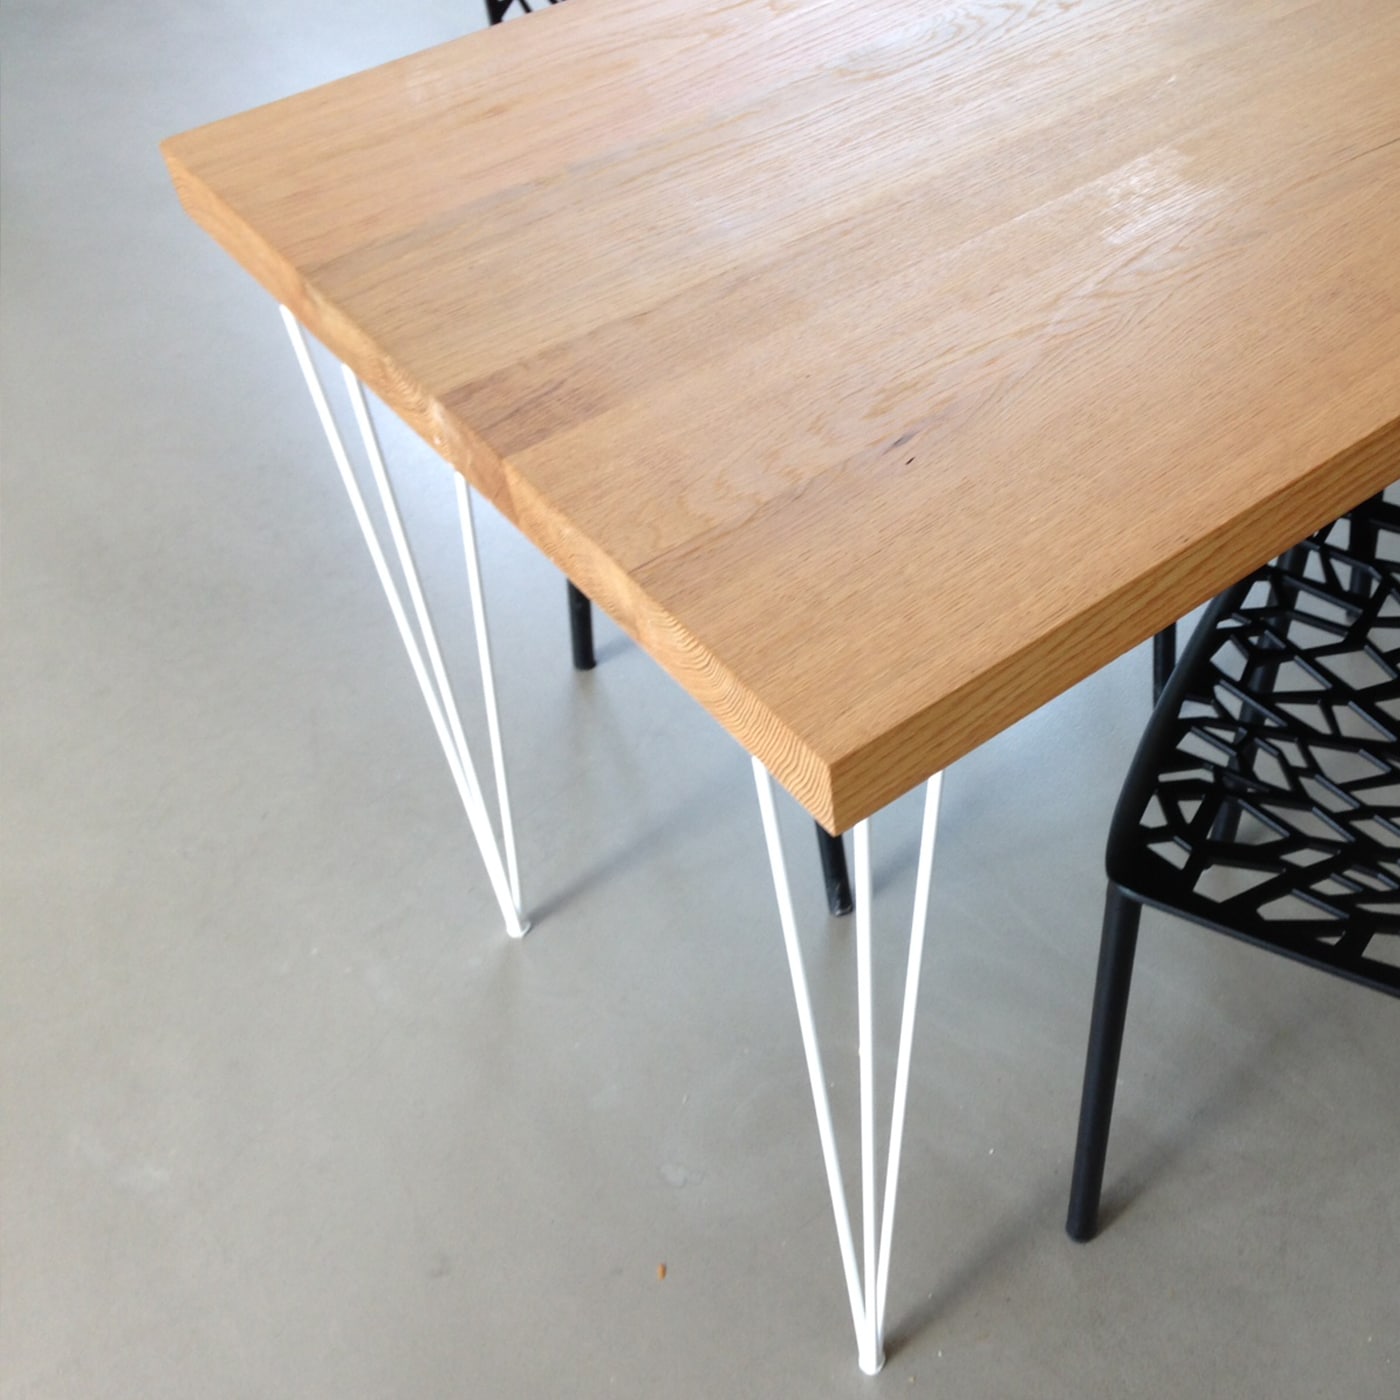
Le positioning of the right feet is the most common option for rectangular or square tables. It gives your table incredible stability, especially for large tables like those you find in dining rooms or conference rooms. The trick here is to ensure even weight distribution by placing one leg at each corner of the table top.
Here is a video of Maxime Beaulieu who explains how to perfectly mark the location of the feet thanks to the technique of gold number

For round or oval tables, the star leg positioning is often preferred. This type of positioning uses a central leg from which several arms extend to support the table top. Not only is it aesthetically pleasing, but it also adds visual appeal and a point of interest to your table.
If you are working with a small round table, like a bistro table, then the positioning the table legs in the center is an option to consider. It consists of using one or two sturdy legs placed strategically in the center of the table. This maximizes legroom while providing adequate stability.
Le tripod positioning, as the name suggests, uses three balanced legs to support the table top. It is generally preferred for small round or triangular tables and provides stability in a more minimalist design.
Don't worry, even if you're not an avid DIYer, this process can be easy and enjoyable. Follow these clear steps to ensure your foot plate is positioned correctly.
The first step is to gather all the necessary tools and materials. Having everything you need handy before you start will make the process much smoother. Here is the list of tools and materials you will need:
The first step is to prepare your workspace. Make sure you have enough space for your table, table legs, tools, and any other materials you might need. A clear workspace will help you work more efficiently and safely.
Use your tape measure and pencil to mark the exact location where you want to attach each leg.
Use your drill to drill a hole at each marked location for the screws.
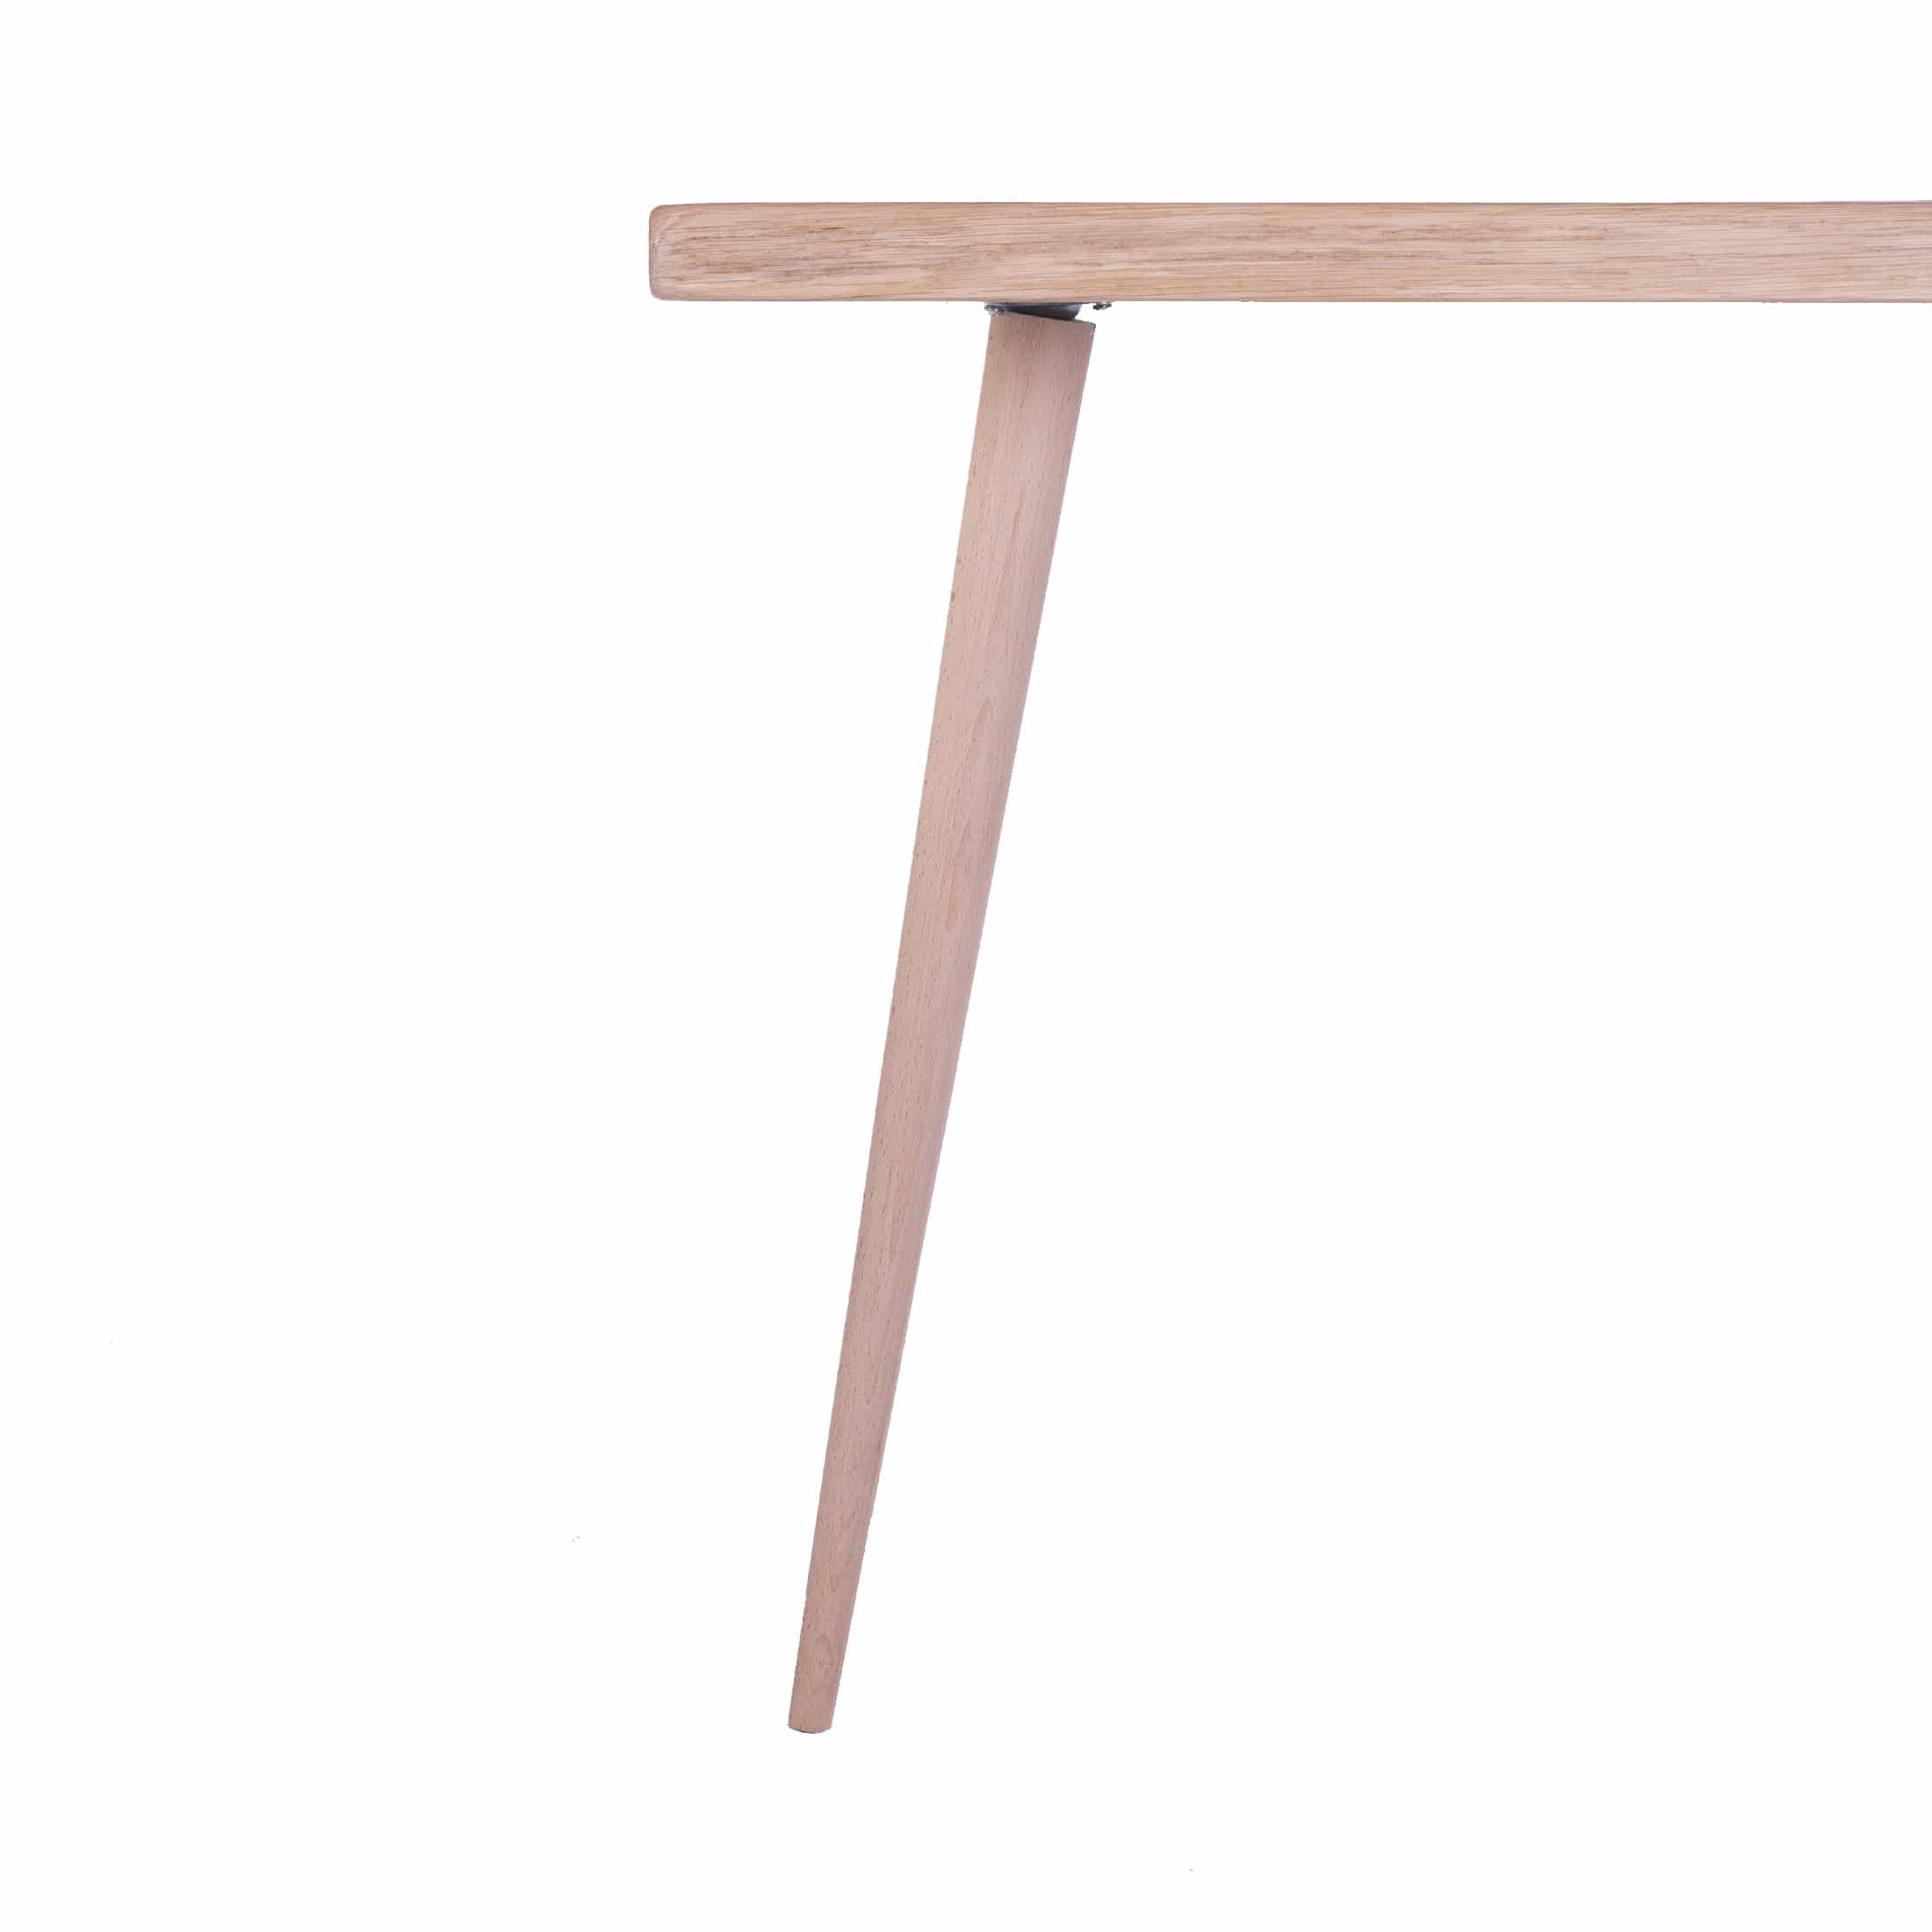
Position the plate on the marks you made and check that it is well aligned. This is where the angle of the table leg comes in. Most table legs have a 90-degree angle, meaning they should be perfectly perpendicular to the tabletop. If the angle is different, make sure the foot is tilted in the correct direction. For example, if the angle is 80 degrees, the leg should be tilted slightly toward the center of the table.
When you are happy with the position of the deck, it is time to attach it. Use screws that fit both your turntable and platter. Make sure the screws are tight, but be careful not to overtighten as you may damage the board.
Once all table legs are installed, turn the table over and check its balance. If necessary, adjust the screws by loosening or tightening them until the table is perfectly stable.
Now that the positioning of the table legs is optimal, remember that they require a regular maintenance to ensure their longevity. Regularly check that they are still securely fastened and that the table remains stable. Also, don't forget to clean table legs regularly so that they retain their luster and beauty.
The final word
By following this guide on positioning of table legs, you are now equipped to position and install the table legs. Remember, each step is crucial to achieving a stable and durable table. If you are having difficulty at any point, do not hesitate to ask a friend or a professional for help.